Applying the finish to the guitar was one of the most tedious and challenging parts of the build. I wanted to stain the swamp ash wood brown due to its pretty and intricate grain pattern. Swamp ash is an extremely pours wood and needs to be grained filled before applying stain. If you do not grain fill the finish will leave a textured surface due to the porous openings. I wanted to have a smooth unified surface. It is necessary to use a water base grain filler because an oil base grain filler will repel the stain. To grain fill you scoop the gel like substance and smear it all of the guitar. I then used a tooth brush to push the grain filler into the pores. Lastly wiping away the excess with a squeegee waiting an hour between coats. I applied about 8 coats until I had a smooth surface. Lastly I lightly sanded.

Grain Filler Product 
Grain Filler 
Applying Grain Filler 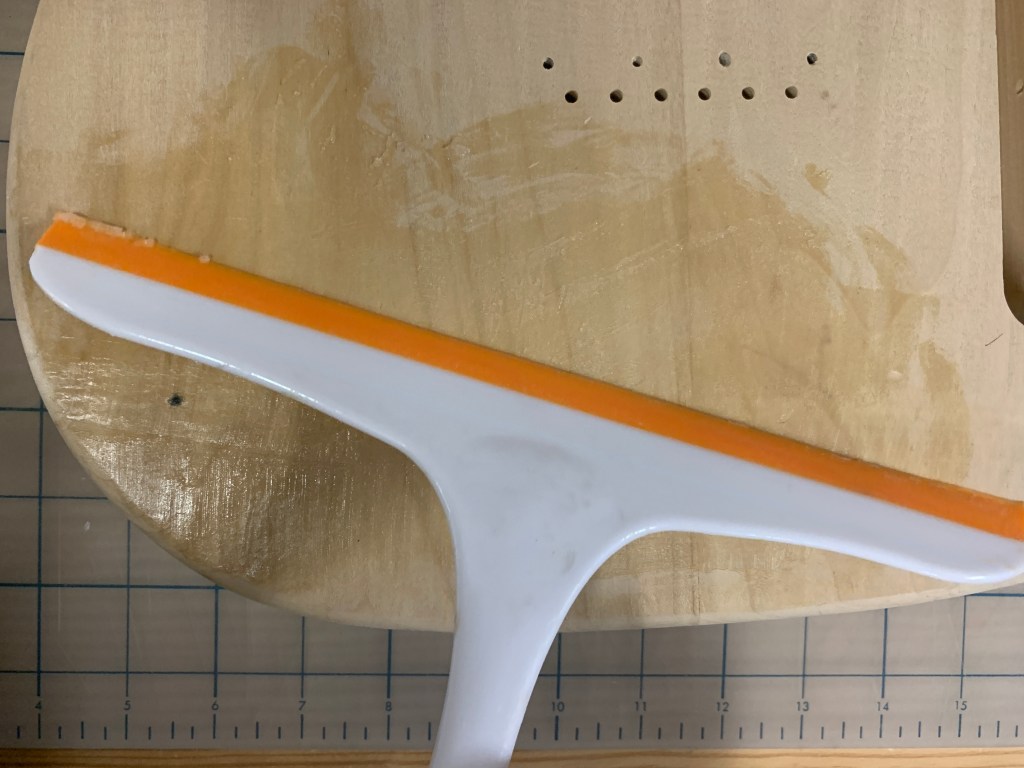
Wiping Away Excess
I looked through the Minwax brochure to find the color I was after. I then went to the hardware store to purchase the cans. I tested a variety of shades of brown on scrap pieces that were left from the CNC job. I ended up not liking any of the colors that I had purchased when absorbed into the swamp ash. The nature of the wood absorbs so much of the stain leaving the lighter colors looking dry and faded. So I mixed a custom blend of the stains that I had purchased in to a peach jar. I created a pecan brown that really emphasized the streaks of the grain. It was dark enough to hold its vibrancy and shines when the wipe on poly was applied. I applied four coats. I used a rag meant for staining wood and waited about 30 seconds after applying to wipe.
MinMax Brochure 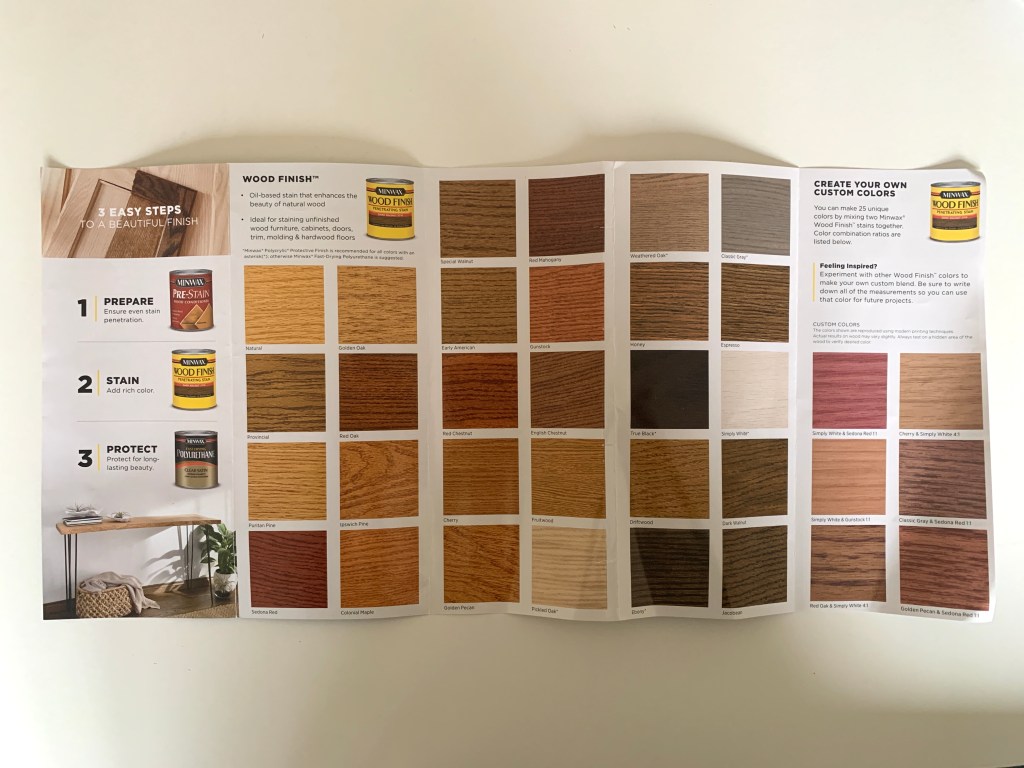
MixWax Colors 
Stain Containers

Bare Wood 
Testing Strips 
Final Color
After the guitar was stained I had the same problem of the wood absorbing too much. The guitar looked dry and faded and I ended up not liking the way the grain was highlighted. After spending so much time mixing to create the right shade I was really disappointed. Deciding not to try and stain it again I wanted to paint it. Instead of sanding the whole guitar to remove the stain I decided to spray on white primer to create a solid base coat. I built a jig using wood and clamps that would the hold the guitar in place allowing me to reach all of the crevices. Basically making my own vice from what I had on hand. I found Kilz primer at the hardware store which is meant to be bonded with wood that has been stained. After applying a few coats of primer I saw that there were several small holes in certain sections of the guitar. This meant that the grain filler did not do all of its job and the primer was sinking in to the pores. I sanded the primer down to create an even surface and continued applying primer again. The surface has to be perfectly flat or it will create the same effect when applying the paint

Kilz White Primer 
Guitar Front Before Primer 1 
Guitar Front Before Primer 2 
Guitar in Engineered Jig 
Guitar in Jig with Primer
I purchased spray paint and a clear lacquer from a site called ReRanch. They make spray paint that is deigned for guitars. Guitar spray paint is not like usual spray paint found at the hardware store. It has a nitrocellulose lacquer built in. This means when you apply a coat of paint it melts to the first layer and hardens. This creates a more durable finish. The trade off is you have to be extremely careful when spray painting the guitar. If you accidentally touch the wet paint you will go through all the previous layers to the bare primer. If this happens you have to sand the whole guitar and start over.
I chose the color daphne blue. ReRanch recreates all the original colors that Fender used for their guitars. Fender based their colors off vintage Cadillacs and my particular color was used during the year 1958. Sadly I was so focused on making sure the guitar was perfect when spray painting that I did not take any pictures. It is extremely important to sand off any dust particles in between coats because they will sink to the first layer making it impossible to remove later. I learned a lot of about spray painting and its techniques. It is not as easy as it looks. The best way to apply this kind of spray paint is in light coats building up several layers over time. I probably applied more than twenty coats to the guitar. A consistent issue I had was preventing orange peel. Orange peel is created mainly by technique and over spray. I became much better as I practiced but the over spray was hard to prevent. When spraying the sides of the body the over spray would settle onto the front and back of the guitar.

Spray Paint + Lacquer 
Scrap Wood Testing Color 
Severe Orange Peel Example 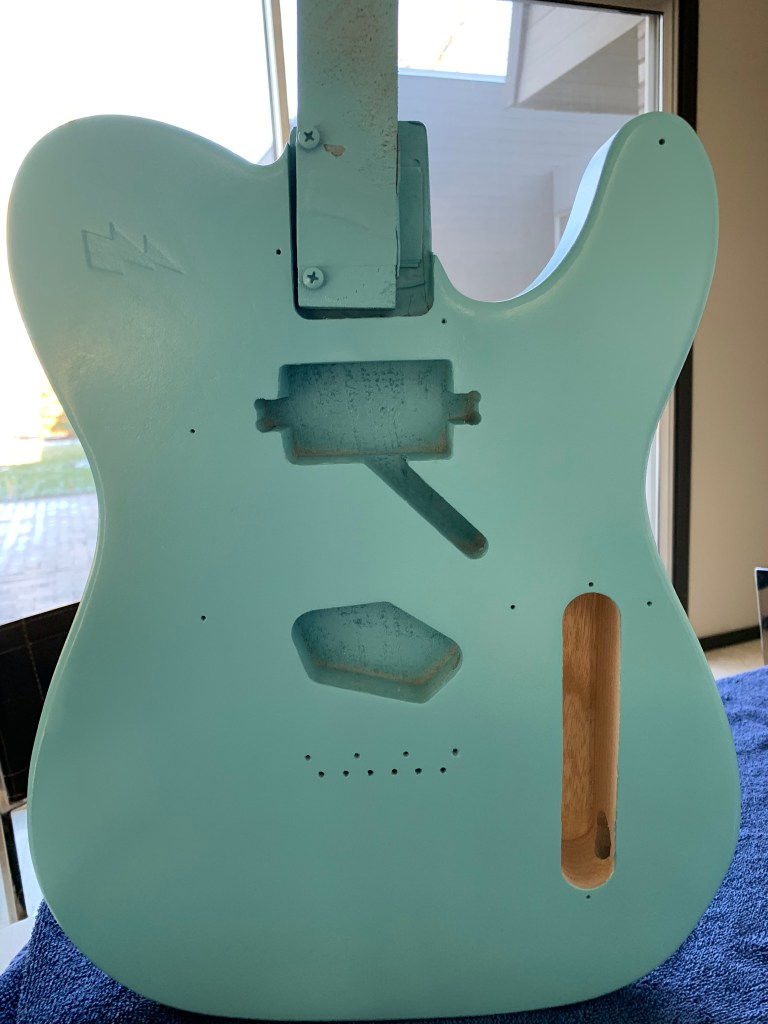
Telecaster Body Painted Daphene Blue 1 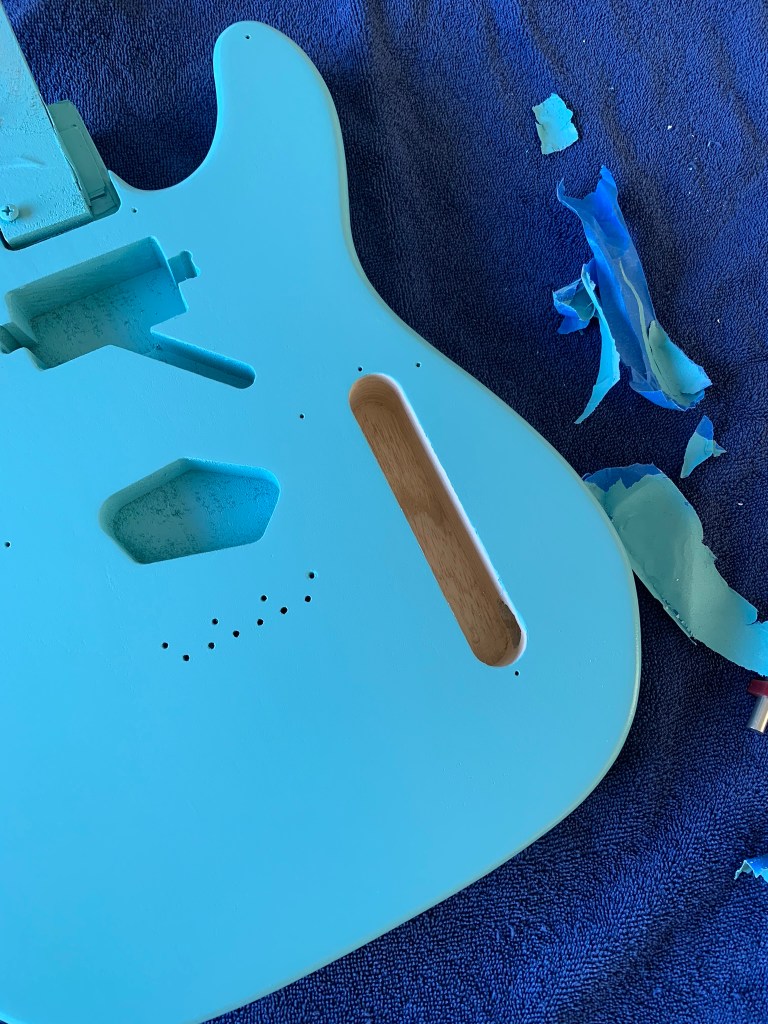
Telecaster Body Painted Daphene Blue 2
I repeated the whole process again spray painting on the lacquer. The lacquer creates a hard surface finish to protect the guitar from damage. Once the lacquer was applied I had to wait a month before wet sanding. During those weeks, almost all of the solvents evaporate and the remaining solids become dry and hardens. If I went straight to wet sanding it would be very easy to remove all of the lacquer I just sprayed on.
To begin wet sanding I squirted dawn dish detergent into a cup and let the sandpaper soak for 24 hours. The soap and water mixture creates a lubricant that prevents you from scratching the lacquer and taking off to much all at once. In addition to being slow and tedious, the process is also very messy. The sanding leaves a white film all over the guitar and my hands. The idea is to remove a small layer to remove any surface defects like scratches, orange peel, and dust. I started with a grit of 600 working up to 1500. The higher the grit of sandpaper creates a smoother surface and removes the scratches previously made by the lower grits. I had to be extremely careful when sanding the routed edges of the guitar. Because there is less surface area it is very easy to cut through the lacquer. The way you can tell that you cut is if you see the color blue on your sandpaper.
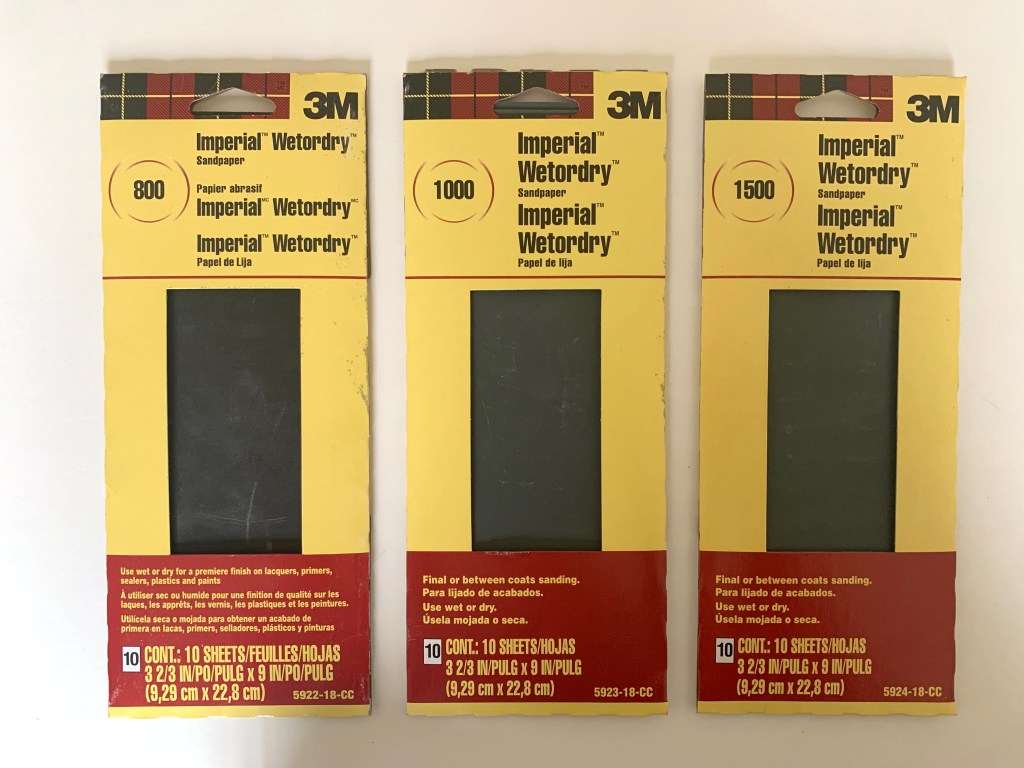
Wet or Dry SandPaper 
Dipping Sand Paper into Lubricant 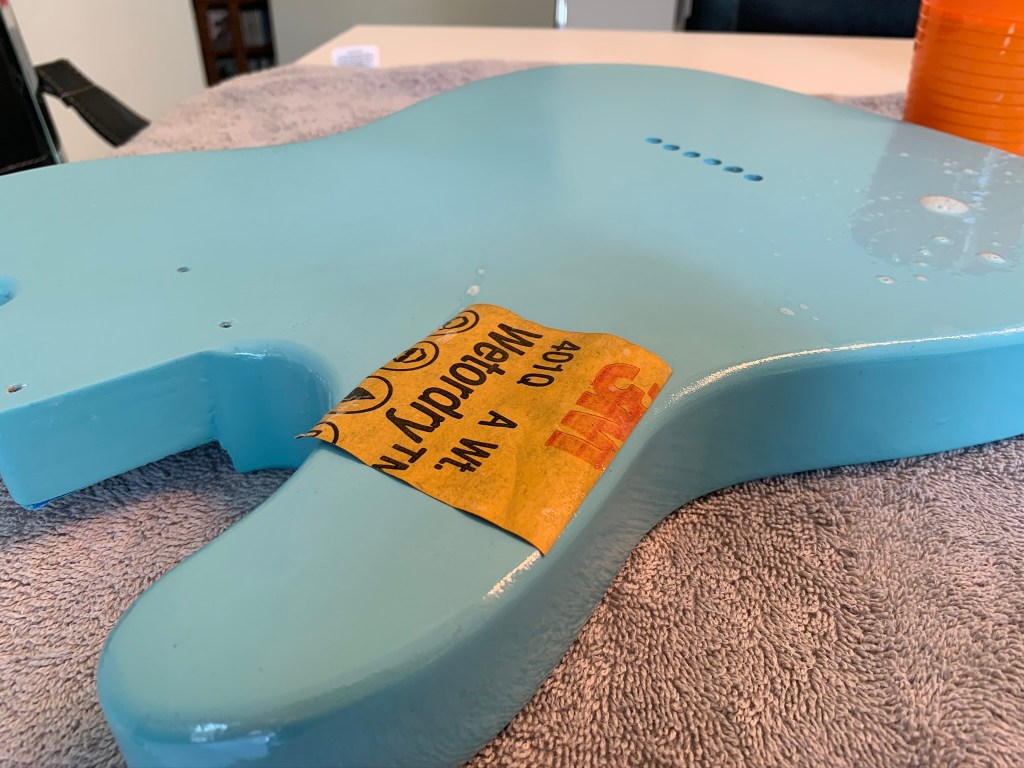
Wet Sanding 1 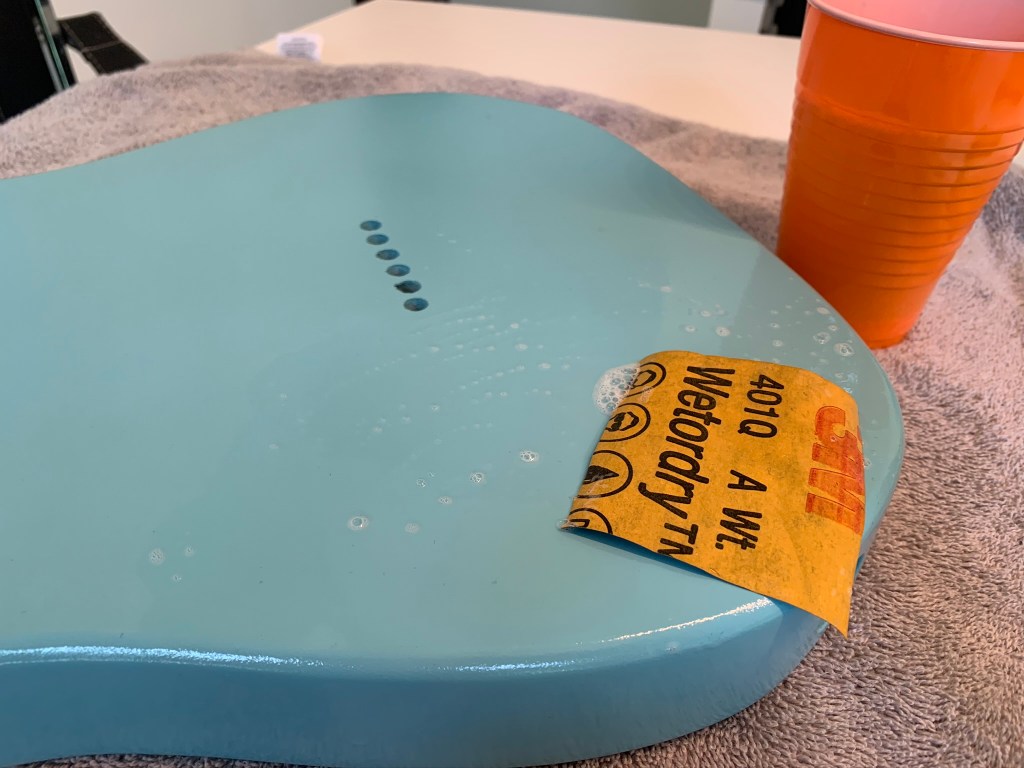
Wet Sanding 2
After the guitar was wet sanded I then had to buff it. I used a hand held buffer with guitar polisher. This creates the shiny glass like finish making the guitar look very professional. The buffering made a huge difference in the look of the guitar! The buffering process creates a mirror-glass like finish making it possible to see your reflection.

Fender Polish 
Hand Held Buffer 
Guitar Buffering Example

Buffering Finish 1 
Buffering Finish 2
Even after applying all the coats of grain fill, primer, stain, paint, and lacquer there are still traces of the porous grains. You do not see these pores unless you look closely. In the right lighting you can even see the grain under neath the paint. Personally I’m fine with it because I do not my guitar to look like it came from a factory. If I ever make an another guitar I will definitely use alder wood because it is so much easier to work with. However I learned a lot about the material science of wood. Finishing the guitar was one of the most difficult parts of the guitar build but it turned out amazing!

Small Pores 
Grain + Orange Peel in Lighting Bolt
 Andrew Stack