For Glenbrook South maker faire 2019 my team and I sought out to design and build a 3D printed Lawnmower. All of us were tired of cutting our grass in the hot summer months. Being knowledgeable collectedly on coding, robotics, and 3D modeling made us the perfect team.
The first step was to create a concept sketch. A concept sketch is valuable for group brainstorming, determining needed materials, and design implications. After creating our concept sketch we used our brainstormed part list to create a budget. Then researching our ideas to justify the need of each part. We had a few parts in kind meaning we already own them. Our design uses 3D printed parts and other readily available components in a maker space.


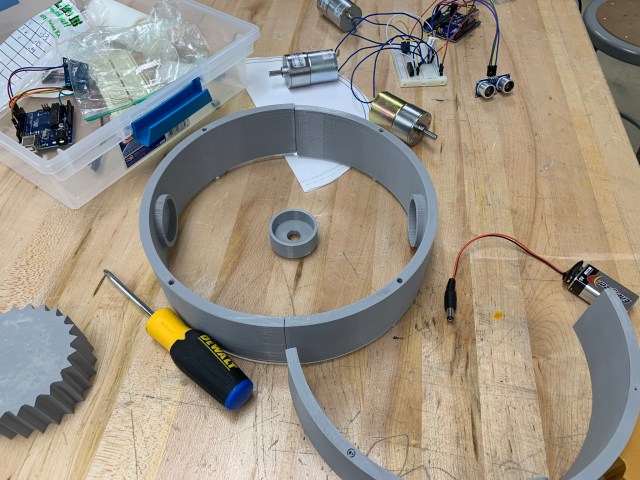
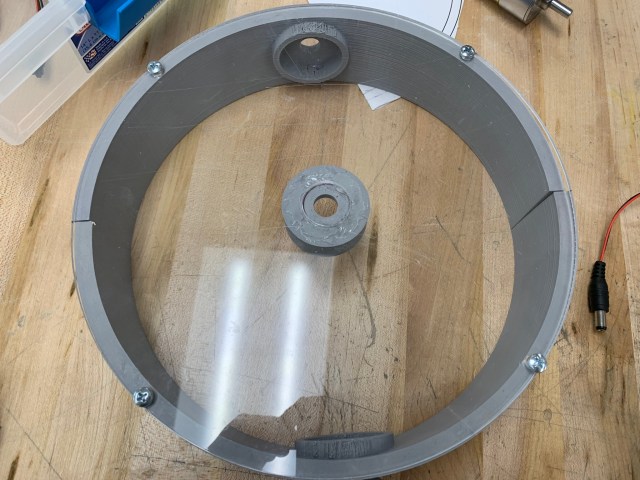
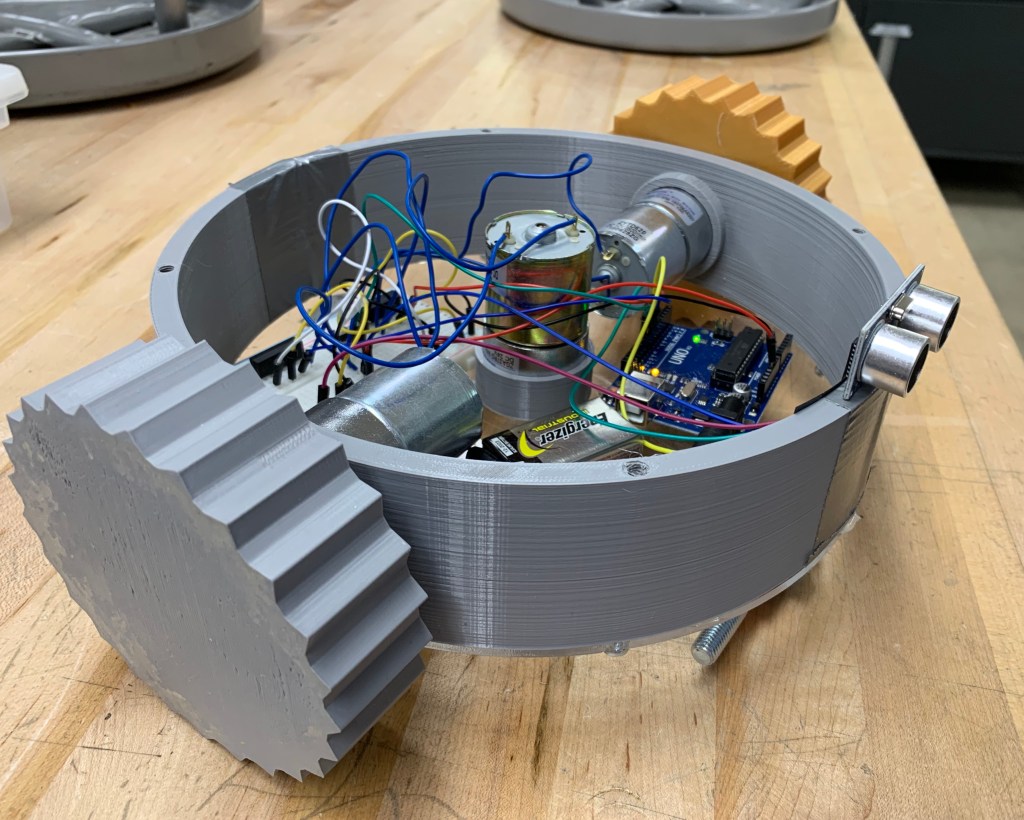
After receiving all of are parts we were ready to sketch a more detailed drawing in Fusion 360. Our idea was to print an outer shell in PLA plastic that would hold the two motors in place and connect to each wheel. Underneath the 3D printed shell will be screwed in acrylic with a hole cut out in the center. The hole is there to allow for the cutting motor being housed in a 3D printed case to cut the grass. We attached an acrylic circle to the cutting motor shaft with 4 X-Acto blades screwed in. This acted as our cutting blades. Our open design allows for the ability to easily fix problems having access to all electronics. The diameter of the lawnmower is 12.75 inches. With a cutting diameter of 4 inches. The wheels will have a diameter of 4.5 inches.
We then 3D printed our shell design.
We laser engraved our acrylic pieces using the geometry imported from Fusion 360. The sketch in Illustrator is red because the laser identifies red as the cutting color. If I wanted to engrave I would change the color to black. The pieces only took 5 minutes to cut in total.

Acrylic Base Illustrator 
Acrylic Cutting Wheel Illustrator 
Laser Engraver
The next step was to write the code to instruct the lawn mower what to do. Will and George worked together to write the code in Arduino IDE. The instructions for the lawn mower were simple. Originally we wanted to use a color sensor to tell the lawn mower to only cut when it detects variances of the color green. However in our programming and testing it was too difficult. We changed to using an ultrasonic sensor. If the sensor reads an object in its path it will turn around and move forward until the object is clear.
The last step was to put together the autonomous lawn mower! It was really fun to work with Will and George on this project. We got the lawn mower running but it did not work as well cutting grass. All in all we learned several new skills working on this project.


 Andrew Stack