I purchased an Ender 3 last year due to its highly recommended reviews in the 3D printing community. The printer costs under $200 and has proven to perform well offering very good print quality. However a common problem of inexpensive printers is reliability and cheap components. My print bed was severely warped only being able to print small objects in the center. The warped bed causes uneven first layers and eventually missing layers making the print fail and look bad. I rebuilt the entire printer to ensure I had a perfectly square frame. First I tried both a thick piece of glass and a mirror placed separately over the heat bed to create a level surface but did not work. I then tried leveling out the high and low spots over the heat bed by using tape but deemed not a reliable solution. Next I tried using hot glue to adhere the glass to the heat bed. I thought the pressure created by the paperclips securing the build plate was conforming it to the deformed heated. When adhered you can see the significant gaps around certain corners. Confirming the severity of warpage. This solution did not work either.

Mirror Bed Surface 
Glass Bed Surface 
Leveling Using Tape 
Hot Glue on Heat Bed
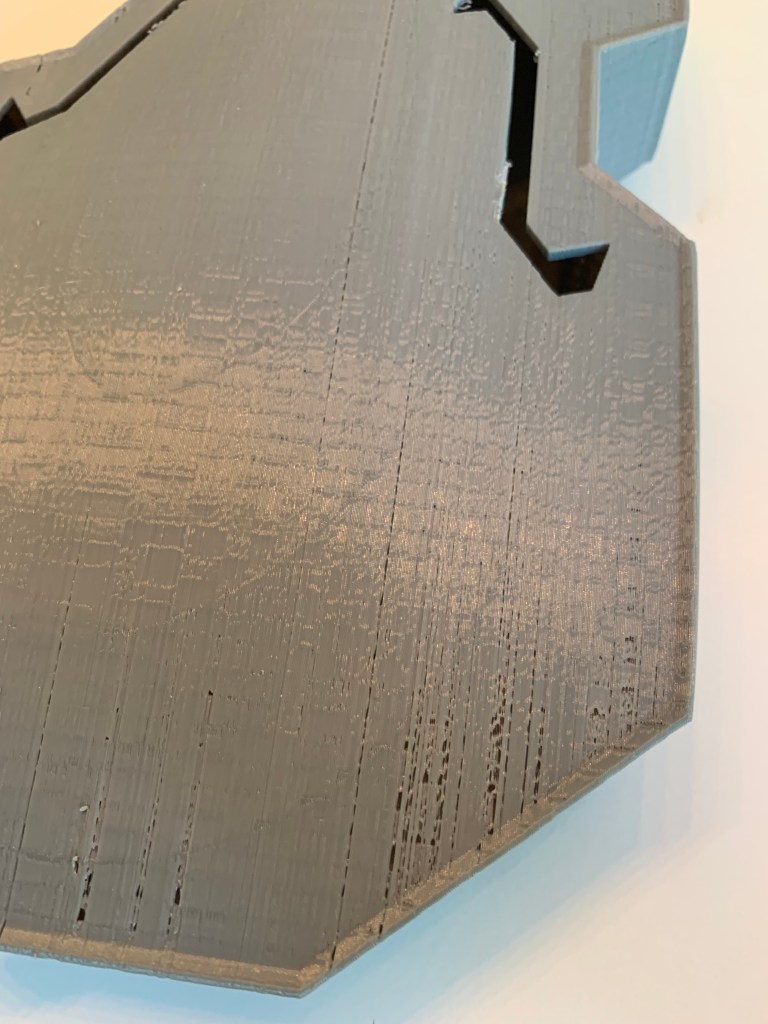
Big Print Missing Layers 1 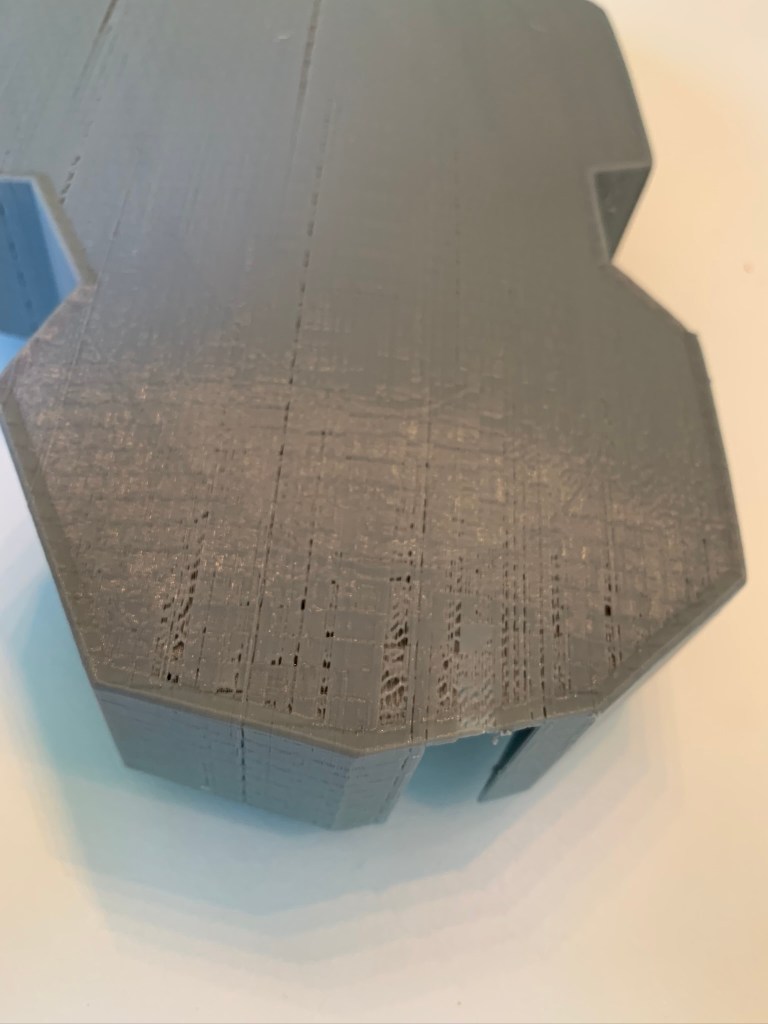
Big Print Missing Layers 2 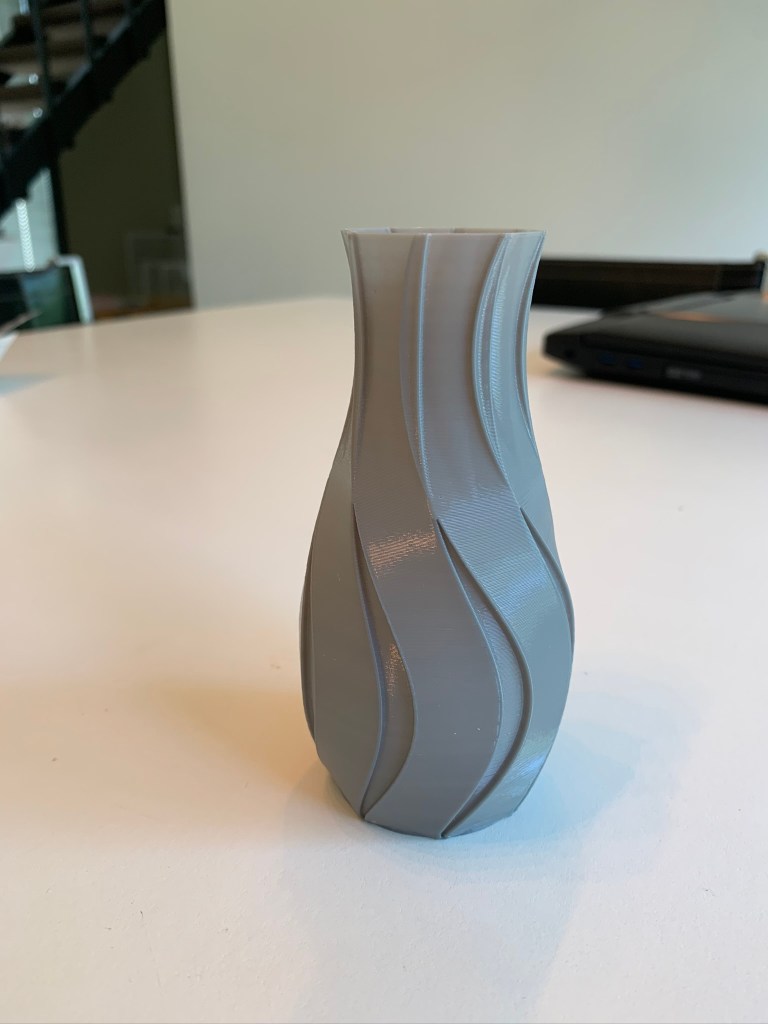
Small Print in Center: Good
I have been using the stock four screws with springs to level each corner. The center was dipping and I had random high and low spots all around the bed. My first idea was to flash new marlin 2.0 firmware to the board to enable Mesh Bed Leveling. This feature plots a serious of points over the bed. Telling the printer where the high/low spots are and moves the z axsis up and down to conform to the nonuniform surface. Manually leveling the grid of 16 points with a sheet of computer paper. I have become very good at judging the friction between the nozzle and paper due to lots of practice. Many use a probe to level but I wanted to spend the money on upgrading other aspects of the printer.
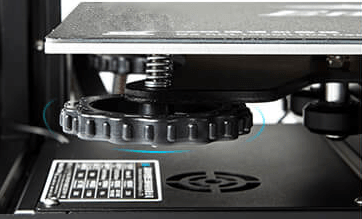
Corner Leveling Screws 
Warped Bed Diagram 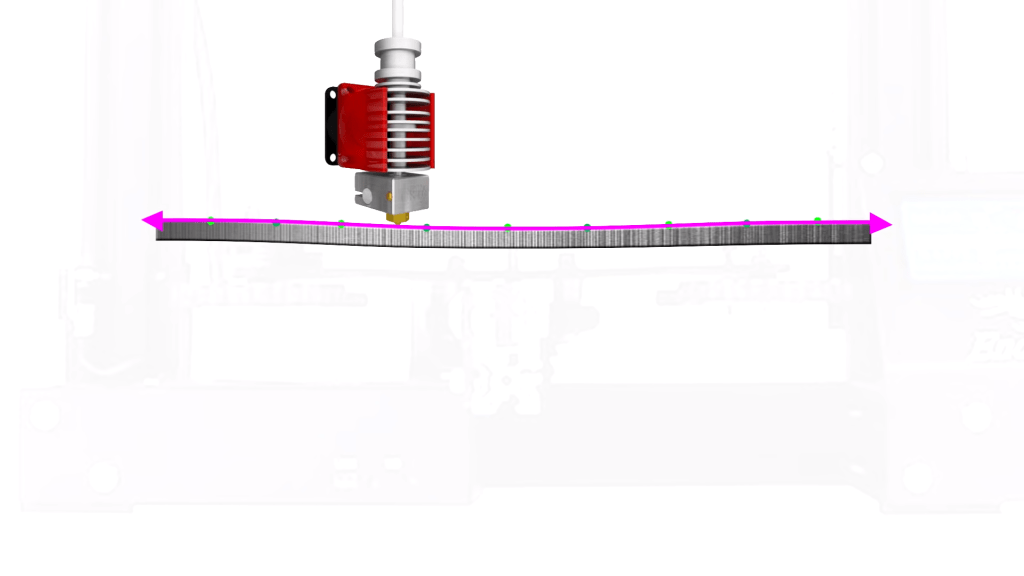
Mesh Bed Leveling Diagram
To update the firmware on the stock Ender 3 board it was necessary to run a bootloader using an Arduino. This wipes the boards memory and prepares it for new firmware. To run a bootloader you must connect 5 female to female data wires and 1 female to male wire for power. Once set up I used an example sketch titled ArduinoISP. Once installing the plugin Sanguino it allows the Arduino to read the board. Once everything is connected you can click “Burn to Bootloader” wiping the board. The bootloader is burned when the LCD displays a blank blue screen.

Connecting an Arduino to Board 
ArduinoISP Sketch 
Flashed Board
After burning the bootloader you can upload the firmware. I installed Marlin 2.0 for 8-bit boards from their Github site. The stock Ender 3 board only has 128 kb of memory available. All the features needed to make my Ender 3 better would not fit on the board due to Marlin being such a huge file. I began getting text overflow errors when compiling. Even after commenting several unimportant features I could not even fit the most basic ones. I needed to purchase a new board.
I purchased a SKR mini E3 32-bit silent board with a bootloader built in. This board has more than enough storage for new firmware and features in the future. It also has the ability to make the stepper motors extremely quiet. 32-bit boards do not work with Arduino IDE so I moved over to a program called ATOM to upload the firmware. I ran into several challenges of not being able to connect the board with the software. This issue was due to programming not hardware. I spent a lot of time figuring it out on my own because several guides were not clear on declaring the board and which number ports to specify. The two files in the package that you need to edit are the Configuation.h and Cnfiguration_adv.h files.

Installing New Board 
Atom Error Not Recognizing the Board 
Final Fixed Compile
After changing several lines of code to add and remove different features I was ready to update the firmware. I ran a PID Autotune before updating because I was having several heating and thermal runaway errors. After the program compiled the code I put the outputted .bin file on the SD card and loaded it into the printer. After turning the printer off and on the new firmware was installed. It took a few hours to tweak the firmware, perfect the new leveling process, and adjusting the z height to get an even first layer. It was not perfect but it was significantly better.
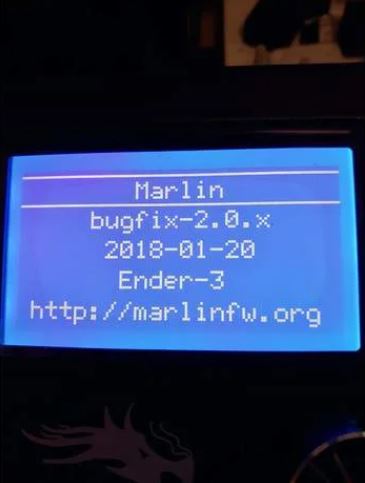
Marlin Info Screen 
Mesh Bed Leveling Demo
I purchased a new heat bed because the mesh bed leveling was still not doing its job. Even after replacing the heat bed I was having issues in the same spots as I did before. I then measured the x gantry distance to the top of the frame in three spots and all were the same measurement meaning it was leveled. Everything was squared and parallel. I am not sure why I still have this problem because I have tried all the possible solutions I could think of and find.

Warped OEM Bed 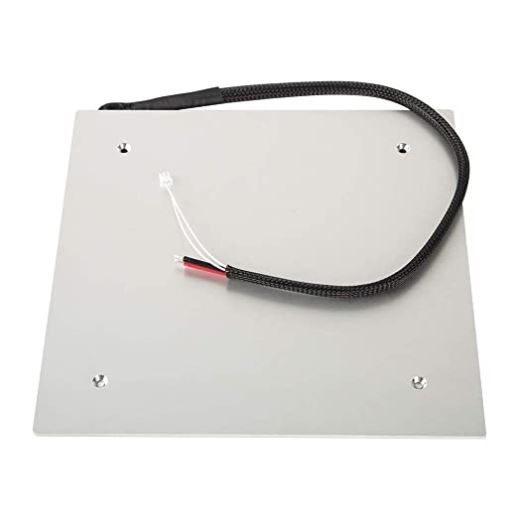
Amazon Bed Replacement
During testing I found that I could only run two print jobs before the distance between the nozzle and the bed would drastically change. The time it takes to level my bed each time is at least 15 minutes. I run through the Mesh Bed leveling program which takes about 5 minutes. Then I run a 10 minute print job that prints 9 circles at a first layer height of .2 mm. I then take a caliper and measure each circle to ensure it is the correct thickness of .2 mm. The EEPROM stays at the same value for my bed z after turning the printer off. This tells me that my mesh bed leveling data has to be saved. It must be a problem with either the z axsis or the limit switch not being precise enough. I searched internet to find solutions to my problem but I had no luck. I have had numerous problems through out the year with my Ender 3 from under extrusion, random print artifacts, and heating issues.
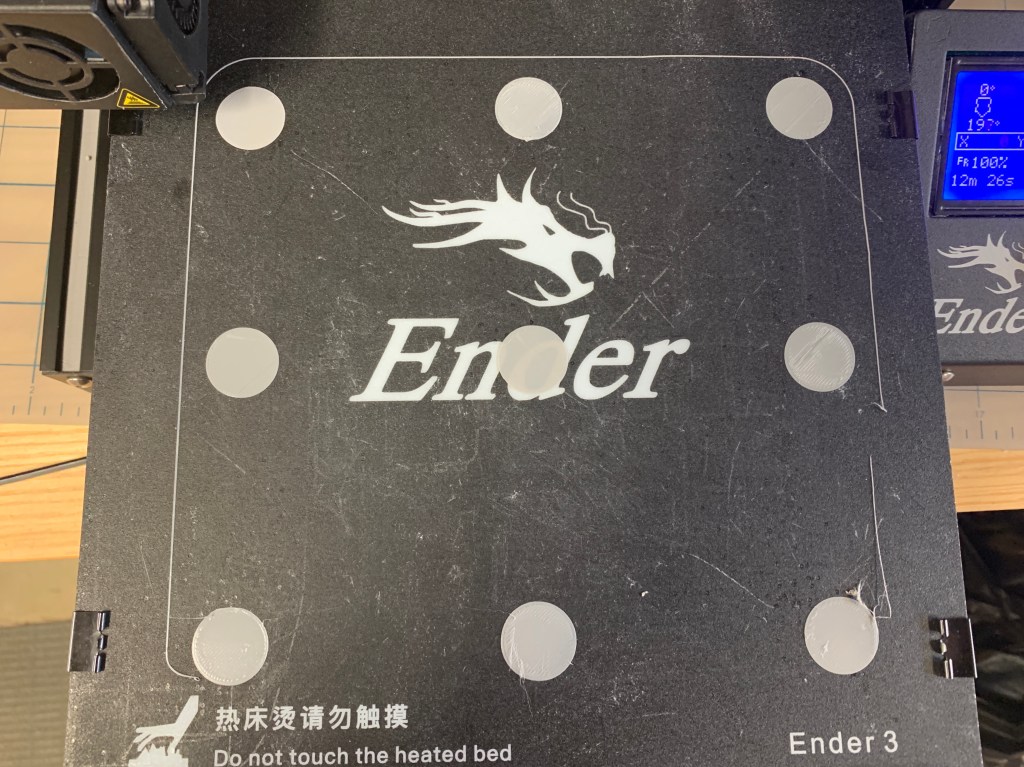


I am not a person who gives up easily. However I have spent more time fixing the printer than being able to print. I have put up with the issues due to the price but I can not justify that any longer. I have chosen to purchase a Prusa I3 MK3s for its reliability and amazing print quality.
 Andrew Stack