I sought out to build my own custom Telecaster guitar from two blocks of wood I purchased at the wood store. Having a CNC machine at school I thought it was the perfect opportunity to use it for building a guitar.
The Telecaster was designed by Leo Fender for Fender Guitars. The guitar is an extremely simple design but sparked innovation being the first of its kind. The guitar made it possible for many players to play being affordable, easy to play, and great-sounding. I chose the Telecaster because like Leo Fender I am building my first guitar.
First I started with a technical drawing of the guitar body I found online. I found this website searching through guitar forums but it is entirely in German needing to be translated.

I then imported the PDF into a web site that can convert a PDF to a DXF file. A DXF file creates vectors making it possible for CAD programs to read the lines on the original PDF as a 2D sketch. I imported the new DXF file into Fusion 360. The dimensions on the technical drawing depicted the desired depth to create the pockets. The pockets house the neck, electronics, and pickups. I added a debossed lighting bolt on the top right corner because that is my schools logo.
The next step was to design the neck of the guitar. The neck was an extremely difficult object to model due to its complex shape. Luckily reading and posting on forums I got help and the courage from others. I repeated the same step of converting a PDF of the neck into a DXF file. I found missing information on the technical aspects of the neck through guitar forums and Fender’s website. I watched several hours of YouTube tutorials to learn how to draw a complex shape like the telecaster neck. Through several iterations I finally drew a model ready for the CNC machine.


Print Out Visual of CAD Work
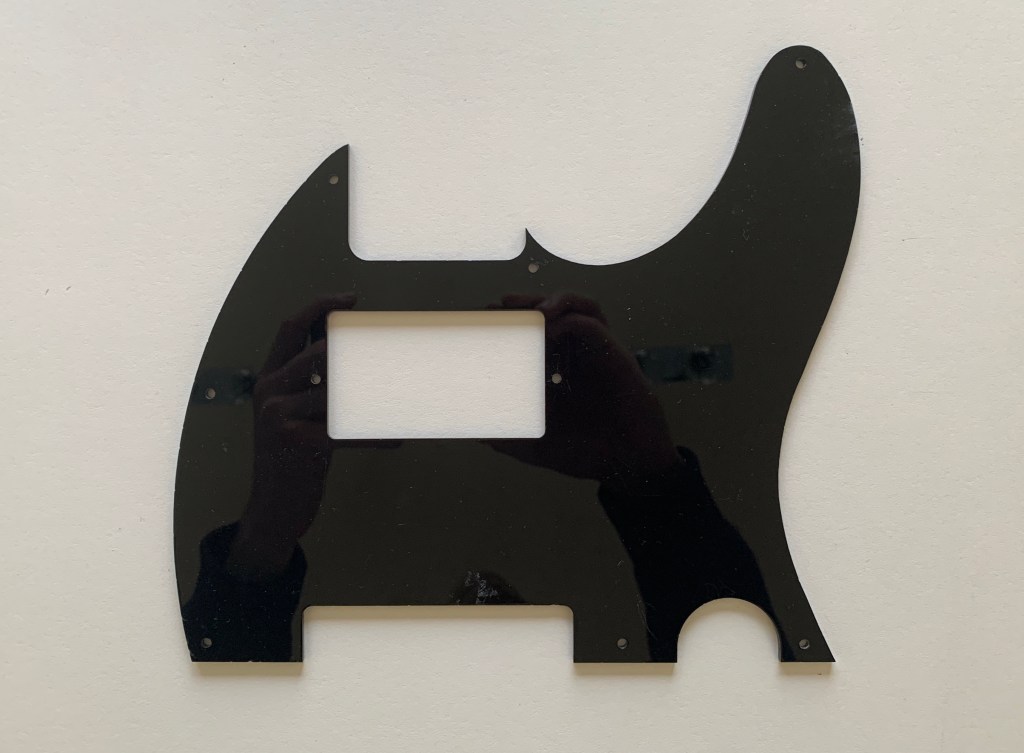
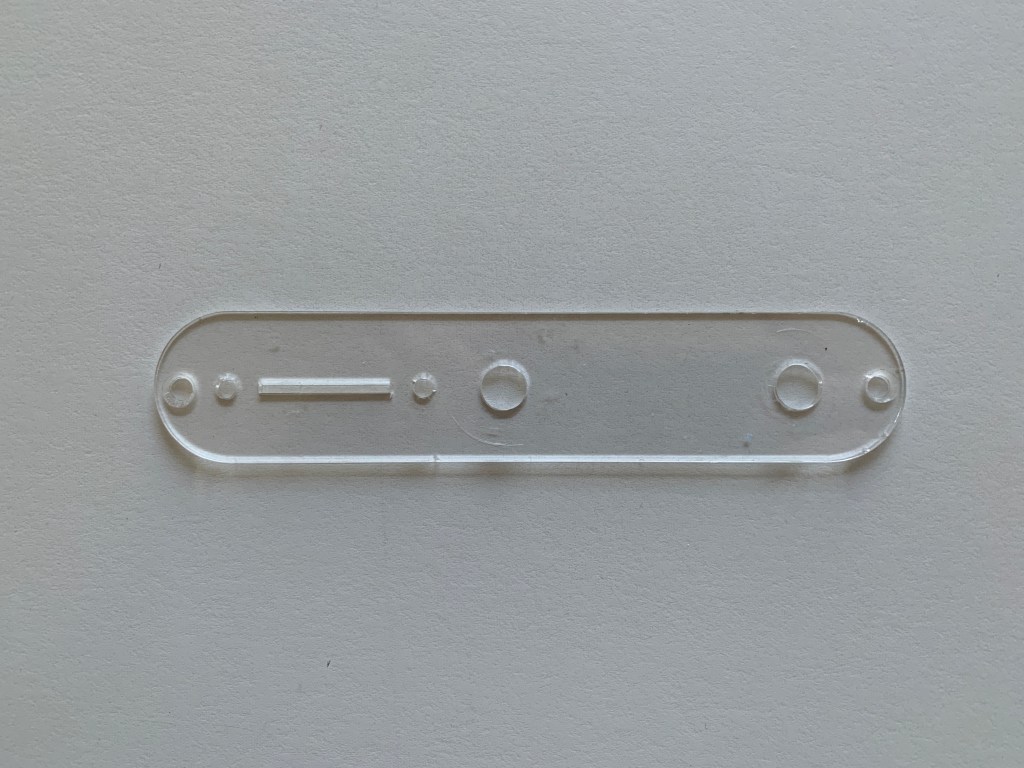
I found technical drawings for both a Telecaster pick guard and control plate online. I imported the vectors into Illustrator to create the pick guard. The control plate was a lot simpler design so I simply followed the technical drawing. Using the laser engraver I performed a test cut of the pick guard in a cardboard like material from the architecture class. Then moving on to the final. I went straight to the final with the control plate because it was small enough to be able to cut another if there was a mistake.

Illustrator Pickguard Drawing 
Illustrator Control Plate Drawing 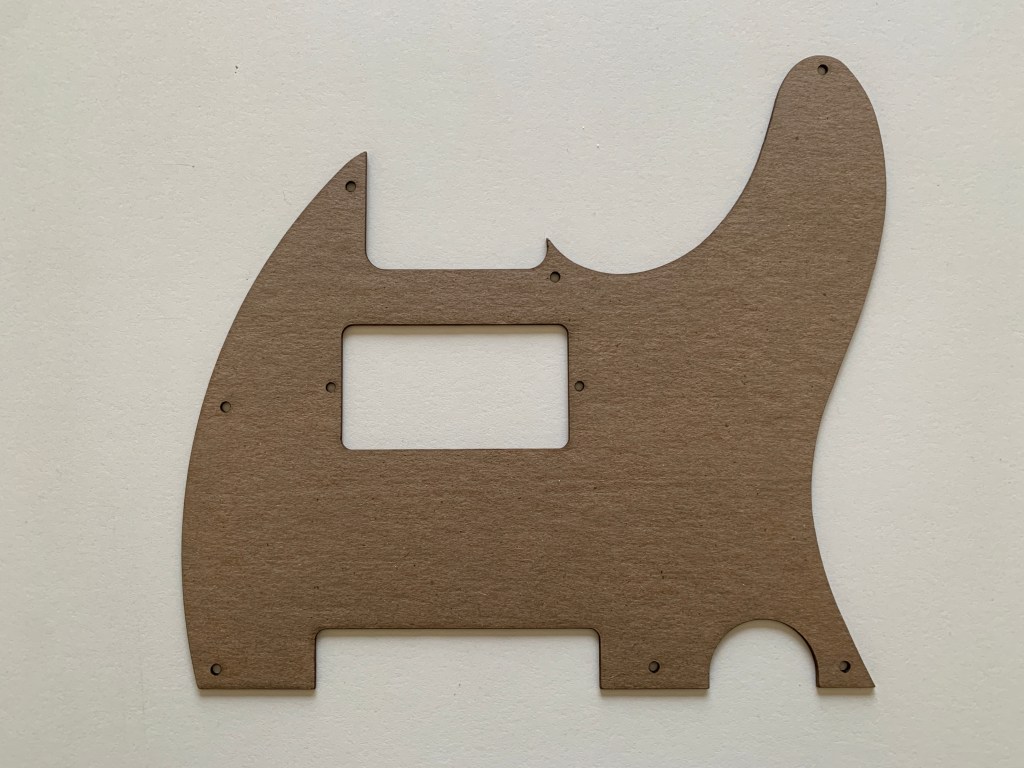
 Andrew Stack