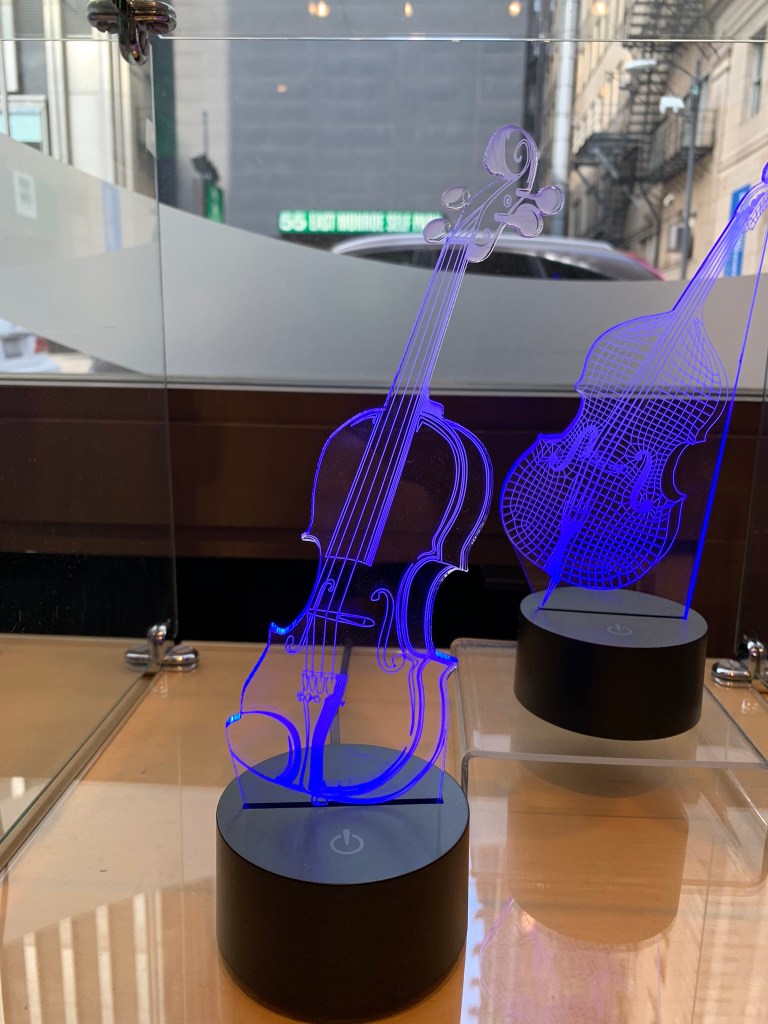
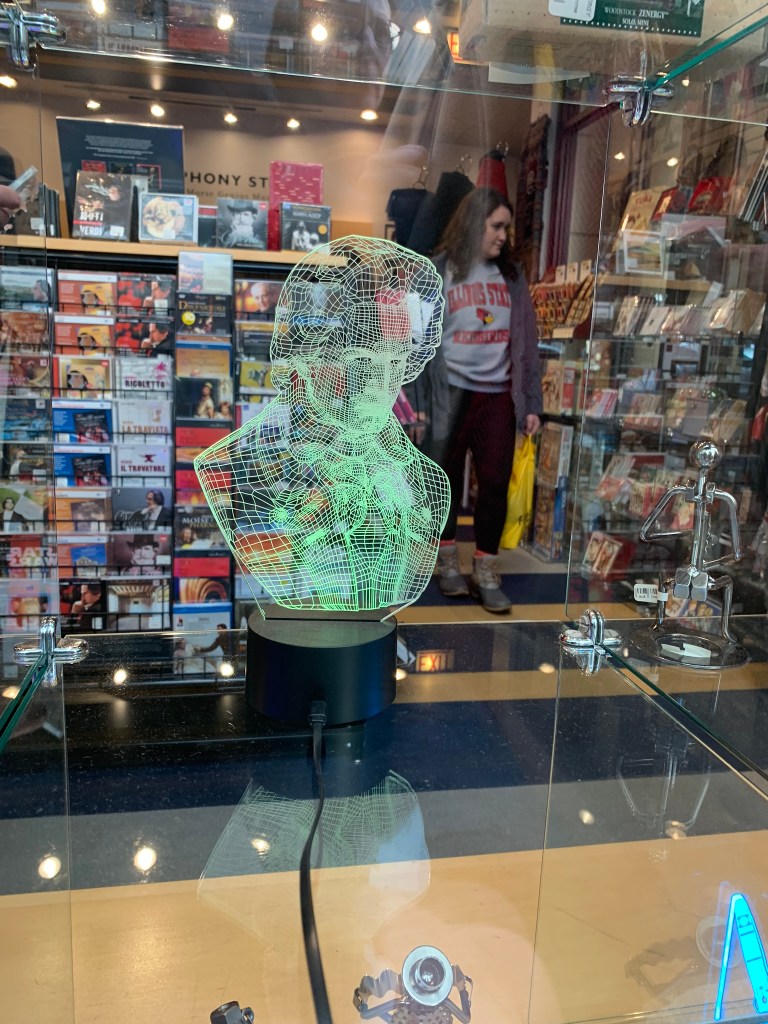
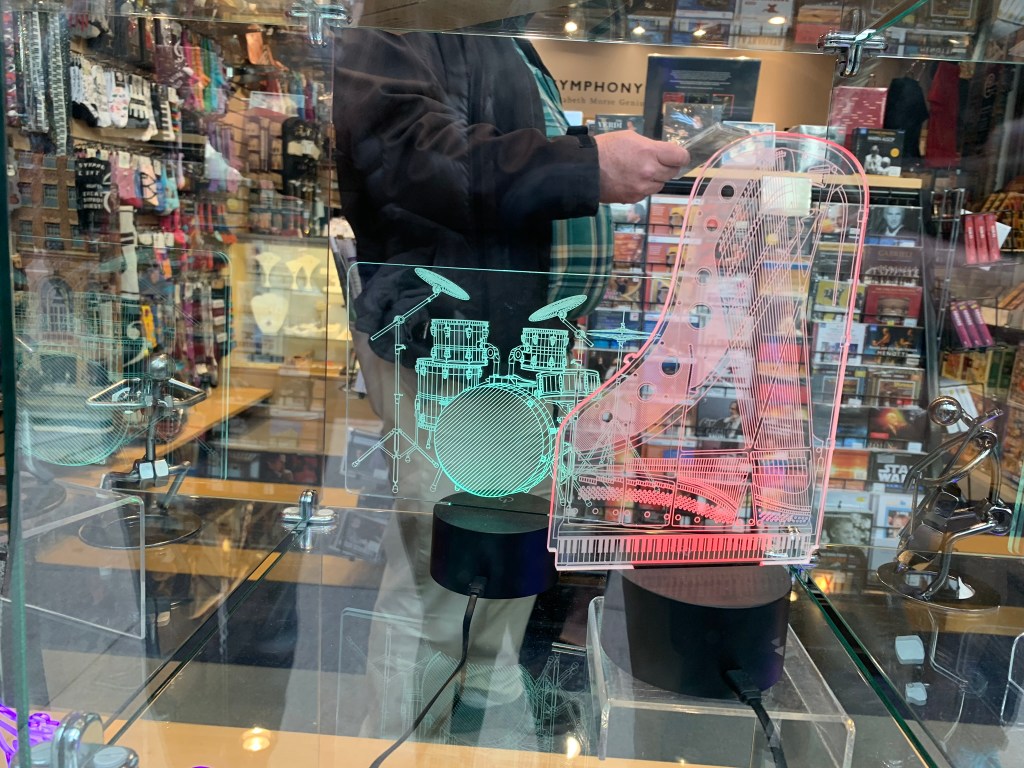
While at the CSO gift shop I ran into a really cool souvenir. Featuring a black base that illuminated an instrument in different colors on clear engraved plastic. To recreate this I would need to use an Arduino Nano, a laser engraver, RGB LED strips, and a 3D printed base.
First I needed to choose an image that I liked to display as the art piece. I found a clip art image of a globe online. I imported the image into Illustrator and image traced it to create the vectors. I kept the image as black because it is the color that the laser engraver knows to engrave. Then drawing a red circle around the whole globe with some added geometry to allow it to fit into the 3D printed base. Red is the color used for the laser engraver to know what to cut. I then sent the file to the laser engraver using 1/8 inch acrylic.

Illustrator Drawing 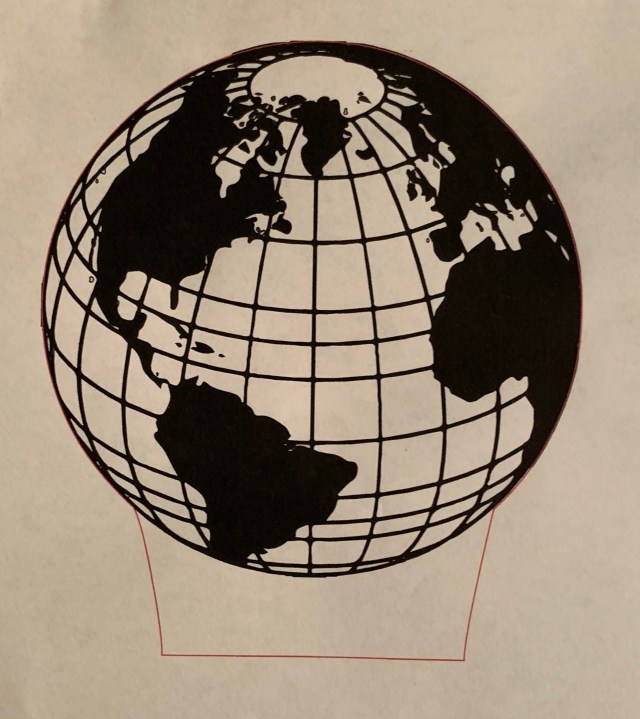
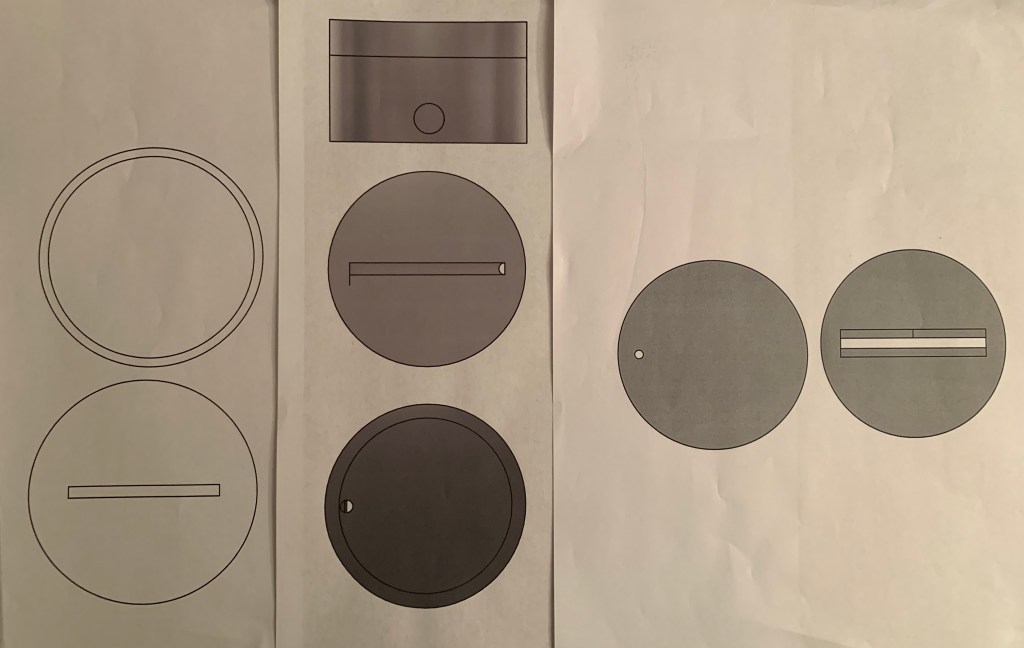
Illustrator Drawing Print Out 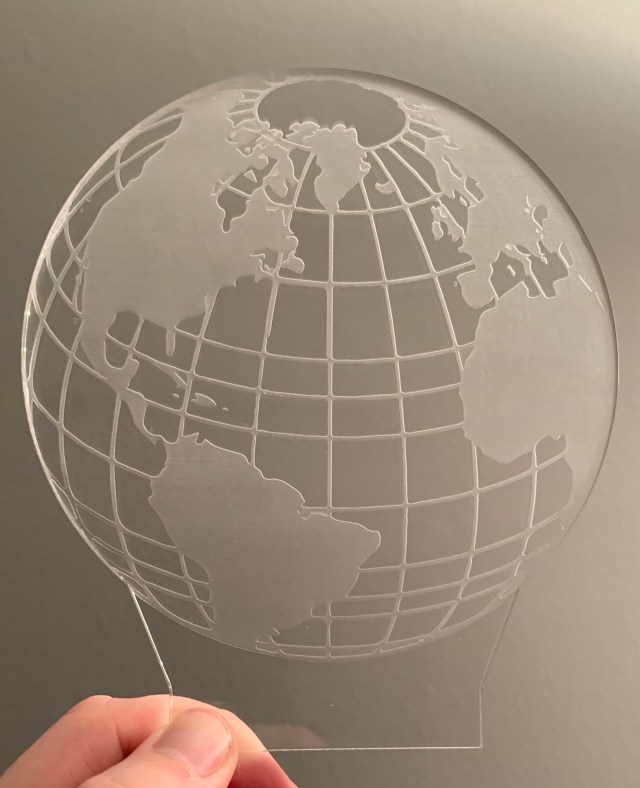
Final Laser Cut Acrylic
The next step of the project was to design a base for the acrylic to fit in. My design must fit an Arduino Nano and have a slot to store the LED strips. The bottom part of the acrylic has to slide into the slot and sit on top of the LED strip. When the LEDs activate the light passes through the acrylic creating the glowing affect. I printed out renderings from Fusion 360 to give myself a real world model to determine the right size before it was 3D printed.
The next step was to test fit all my electronics and solder the LED strip to the Arduino Nano. Having learned how to solder from the Random Number Generator Project. I made sure to not make the same mistakes I had when first learning to solder. I tinned both the copper pad and the wire to allow for a faster and stronger bond. This ensures I do not keep the soldering iron on the surface for too long damaging the strip.

Tinning the Copper Pad 
Soldered Wires
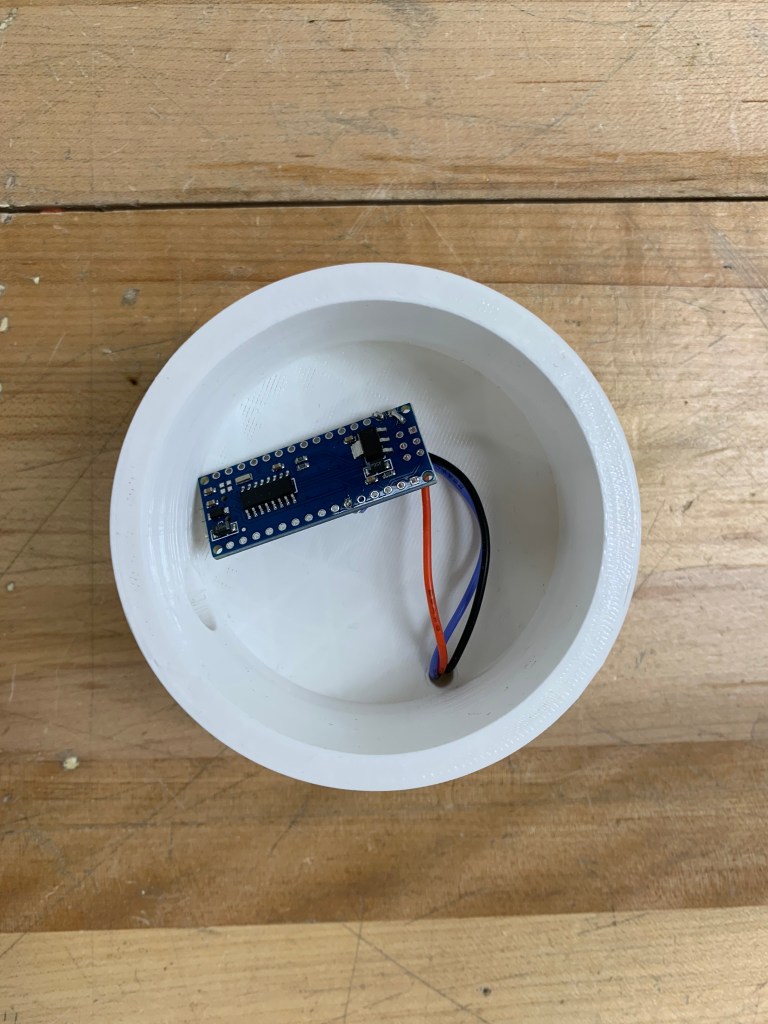
Bottom View 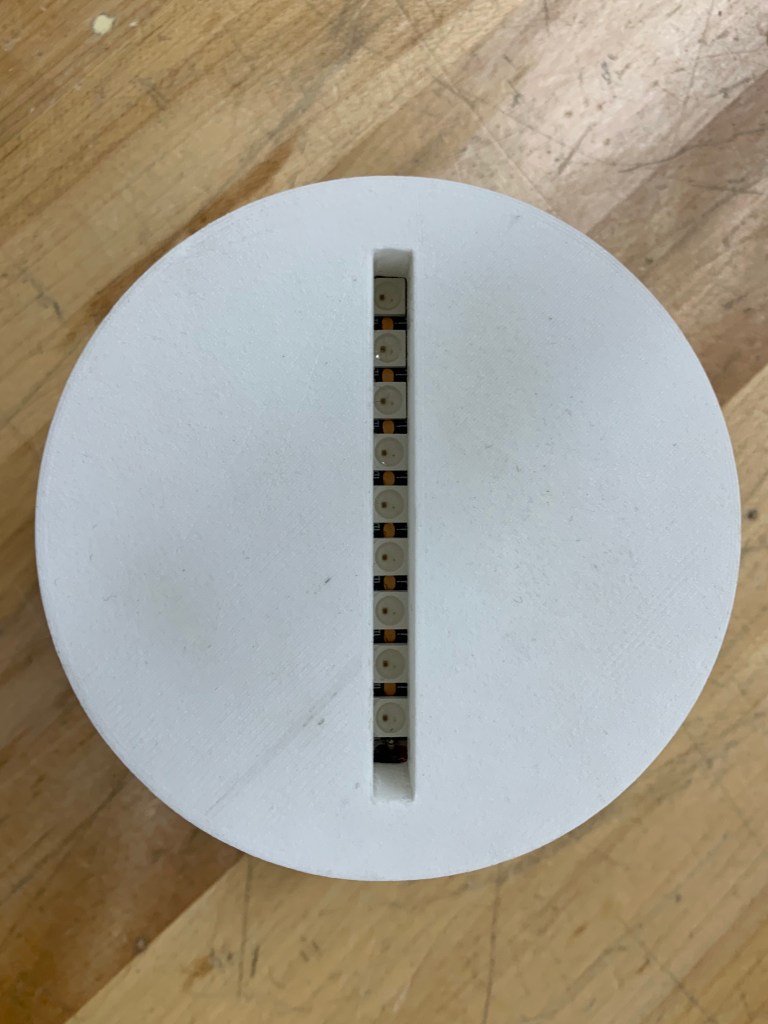
Top View 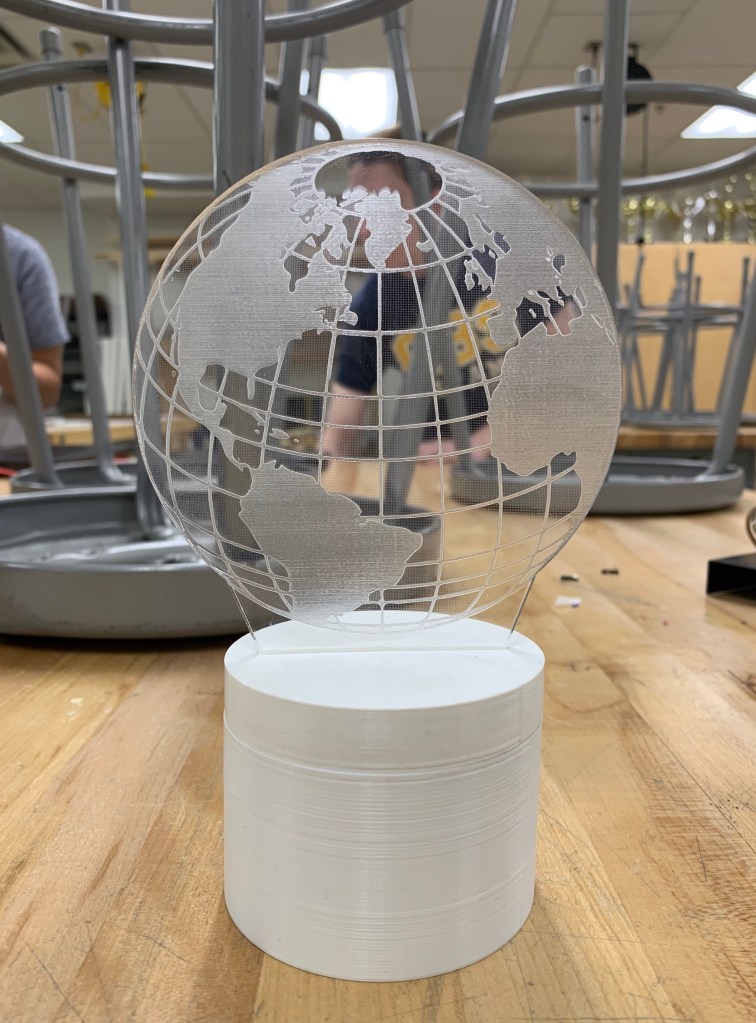
Side View with Acrylic in Base
The last step was to upload the code to the Arduino Nano to control the LED strips. I wrote a program that randomly selects different colors to display using a pallet that I imported.
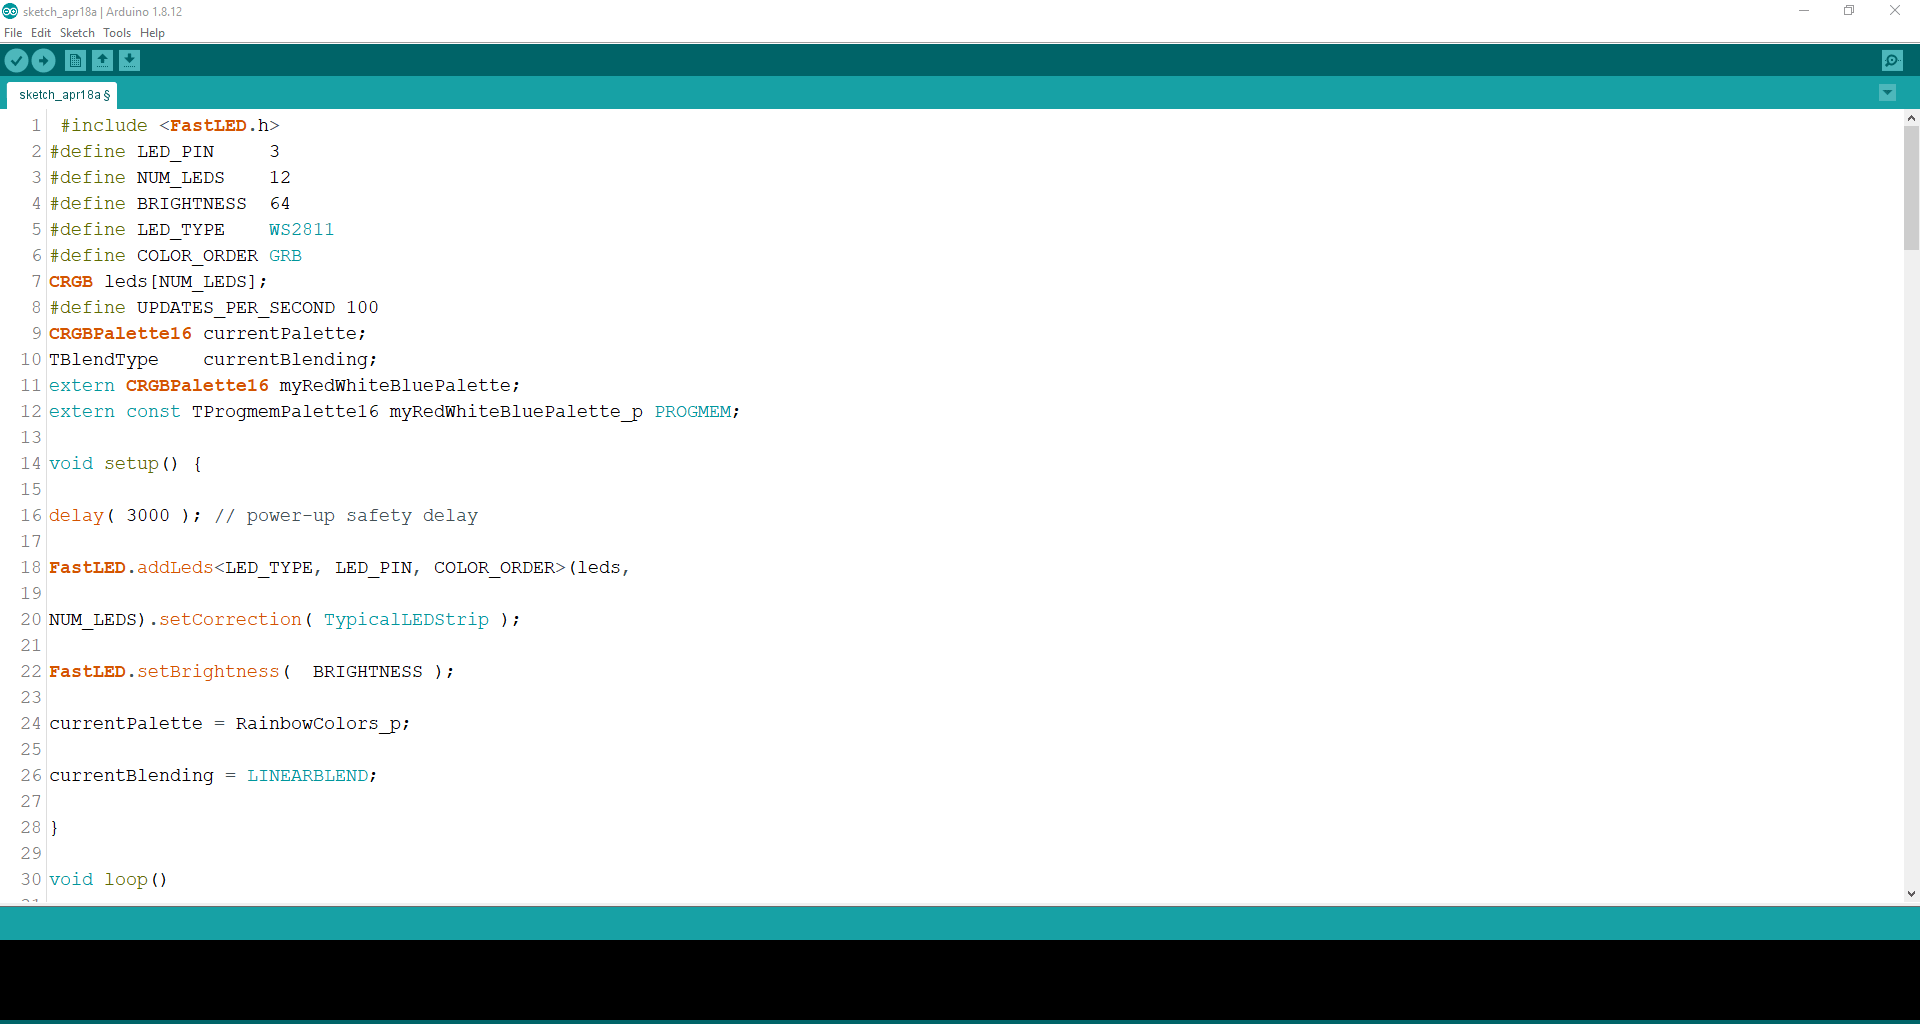
This project turned out turned out great and looks really cool!
#include
define LED_PIN 3
define NUM_LEDS 12
define BRIGHTNESS 64
define LED_TYPE WS2811
define COLOR_ORDER GRB
CRGB leds[NUM_LEDS];
define UPDATES_PER_SECOND 100
CRGBPalette16 currentPalette;
TBlendType currentBlending;
extern CRGBPalette16 myRedWhiteBluePalette;
extern const TProgmemPalette16 myRedWhiteBluePalette_p PROGMEM;
void setup() {
delay( 3000 ); // power-up safety delay
FastLED.addLeds(leds,
NUM_LEDS).setCorrection( TypicalLEDStrip );
FastLED.setBrightness( BRIGHTNESS );
currentPalette = RainbowColors_p;
currentBlending = LINEARBLEND;
}
void loop()
{
ChangePalettePeriodically();
static uint8_t startIndex = 0;
startIndex = startIndex + 1; /* motion speed */
FillLEDsFromPaletteColors( startIndex);
FastLED.show();
FastLED.delay(1000 / UPDATES_PER_SECOND);
}
void FillLEDsFromPaletteColors( uint8_t colorIndex)
{
uint8_t brightness = 255;
for( int i = 0; i < NUM_LEDS; i++) {
leds[i] = ColorFromPalette( currentPalette, colorIndex, brightness, currentBlending);
colorIndex += 3;
}
void ChangePalettePeriodically()
{
uint8_t secondHand = (millis() / 1000) % 60;
static uint8_t lastSecond = 99;
if( lastSecond != secondHand) {
lastSecond = secondHand;
if( secondHand == 0) { currentPalette = RainbowColors_p; currentBlending = LINEARBLEND; }
if( secondHand == 10) { currentPalette = RainbowStripeColors_p; currentBlending = NOBLEND; }
if( secondHand == 15) { currentPalette = RainbowStripeColors_p; currentBlending = LINEARBLEND; }
if( secondHand == 20) { SetupPurpleAndGreenPalette(); currentBlending = LINEARBLEND; }
if( secondHand == 25) { SetupTotallyRandomPalette(); currentBlending = LINEARBLEND; }
if( secondHand == 30) { SetupBlackAndWhiteStripedPalette(); currentBlending = NOBLEND; }
if( secondHand == 35) { SetupBlackAndWhiteStripedPalette(); currentBlending = LINEARBLEND; }
if( secondHand == 40) { currentPalette = CloudColors_p; currentBlending = LINEARBLEND; }
if( secondHand == 45) { currentPalette = PartyColors_p; currentBlending = LINEARBLEND; }
if( secondHand == 50) { currentPalette = myRedWhiteBluePalette_p; currentBlending = NOBLEND; }
if( secondHand == 55) { currentPalette = myRedWhiteBluePalette_p; currentBlending = LINEARBLEND; }
}
}
// This function fills the palette with totally random colors.
void SetupTotallyRandomPalette()
{
for( int i = 0; i < 16; i++) {
currentPalette[i] = CHSV( random8(), 255, random8());
}
}
void SetupBlackAndWhiteStripedPalette()
{
// 'black out' all 16 palette entries…
fill_solid( currentPalette, 16, CRGB::Black);
/ and set every fourth one to white.
currentPalette[0] = CRGB::White;
currentPalette[4] = CRGB::White;
currentPalette[8] = CRGB::White;
currentPalette[12] = CRGB::White;
}
void SetupPurpleAndGreenPalette()
{
CRGB purple = CHSV( HUE_PURPLE, 255, 255);
CRGB green = CHSV( HUE_GREEN, 255, 255);
CRGB black = CRGB::Black;
currentPalette = CRGBPalette16(
green, green, black, black,
purple, purple, black, black,
green, green, black, black,
purple, purple, black, black );
}
const TProgmemPalette16 myRedWhiteBluePalette_p PROGMEM =
{
CRGB::Red,
CRGB::Gray, // 'white' is too bright compared to red and blue
CRGB::Blue,
CRGB::Black,
CRGB::Red,
CRGB::Gray,
CRGB::Blue,
CRGB::Black,
CRGB::Red,
CRGB::Red,
CRGB::Gray,
CRGB::Gray,
CRGB::Blue,
CRGB::Blue,
CRGB::Black,
CRGB::Black
};
(Arduino Code)
 Andrew Stack