I dropped my Glenbrook South water bottle that I had just purchased. 😦 This broke the cap allowing the water to easily spill out. The only normal and sane engineering student response to the problem was to redesign it and make my own!
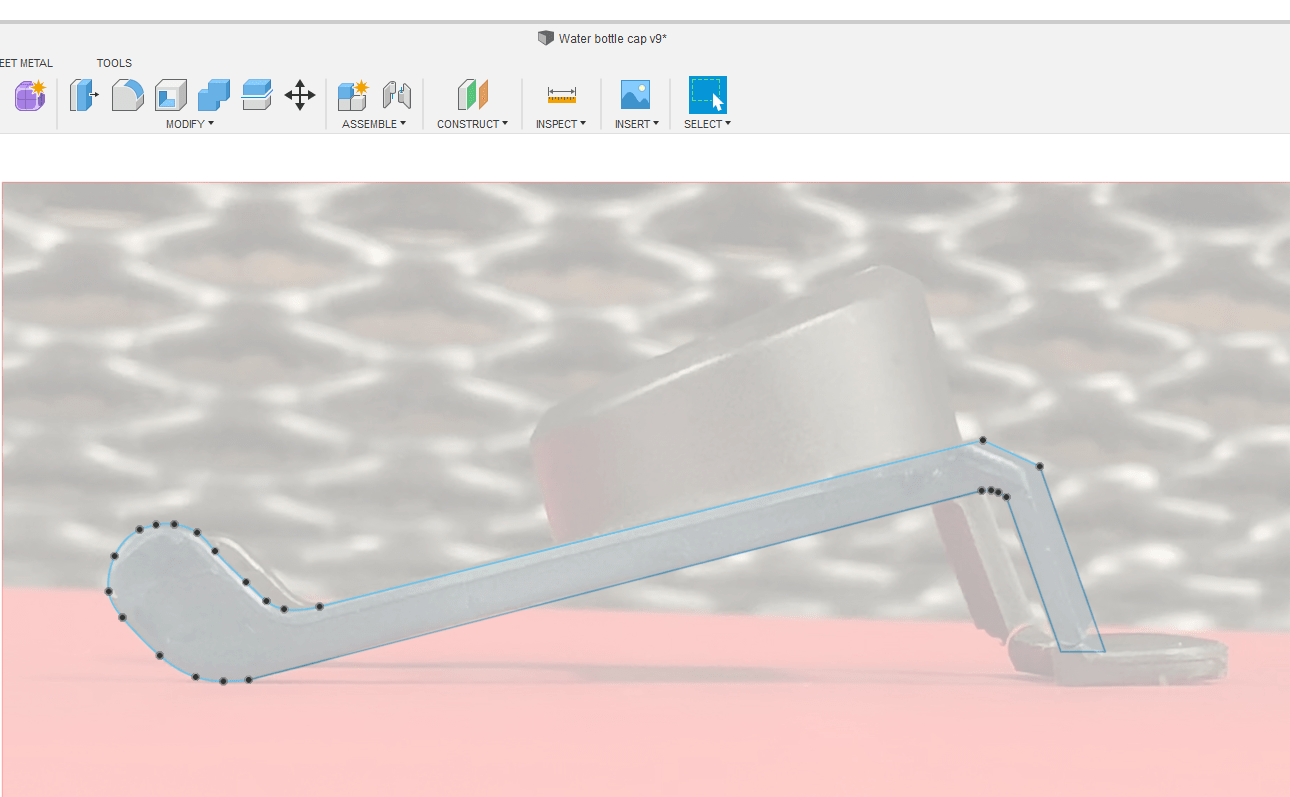
The process began by taking measurements of the bottle cap using calipers and a ruler. Due to the complex geometry it was very hard to reproduce the precise dimensions of the object. With some research I found a feature in Fusion 360 enabling you to import an image file as a canvas. From there you can scale the image to real life dimensions.

Side View 
Top View 
Front View
The next step was to use the spline tool which allows you to trace the object to creating a 2D sketch. Then extruding the 2D sketch to a 3D object. I imported a side, top, and front view and scaled the image to length. This allowed me to ensure the 3D model would be accurate.
I chose to use ABS which is a strong material but anything that is 3D printed and is small and thin breaks easily. I chose to add cross bar support in the front of the object. But choosing not to add support to the back legs due to the way it secures to the water bottle making it stronger.
Once I was finish with the model. I saved it as an STL and sliced the file in Stratasys Slicer. The print costed 0.68 cents and took 5 hours and 26 minutes to print.

Water Bottle Cap 3D Model 
Comparison Between Original and 3D Print

Broken OEM Water Bottle Cap 
3D Printed Water Bottle Cap
 Andrew Stack