I needed a new clock for my room that has a clean and modern design to blend with its aesthetic. Recently on Pinterest I saw a post of people decorating old clocks to modernize them. All they needed was the mechanism. I wanted to challenge my self by designing my own clock.
The first step was to create an Illustrator sketch for my desired design. I drew a circle with my preferred dimensions and used the rotate tool to copy the tick marks at the correct angle. I went to Home depot and picked up 1/4 inch acrylic. Home depot does not sell spray paint to people under 18. So I had to go to Michael’s and purchased Krylon Turquoise spray paint. I laser cut the acrylic at my school using a laser engraver. The clock in the Illustrator file is red so the laser engraver knows what to cut.

Illustrator Sketch 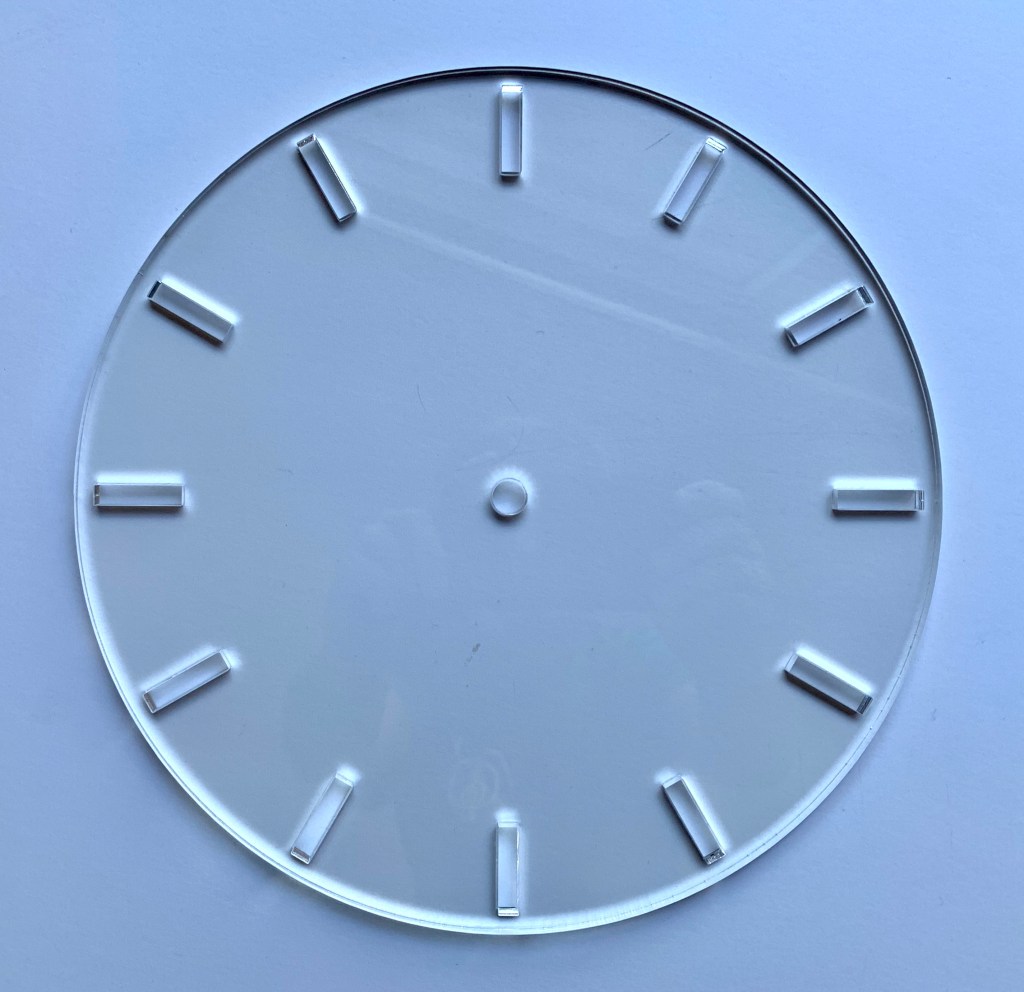
Final Laser Engraved Acrylic
I then went to Goodwill to purchase a clock so I can take out the mechanism. I wanted to have a design with a moving second hand so I had to make sure to pick up the right one.

Goodwill Clock 
Clock Mechanism
I imported the vectors of the clock hands from my Illustrator file into fusion 360. I extruded the hands to a height of 1 mm. I wanted to make sure the clock hands were light enough to freely move to the correct position. But stiff enough to not bend printing at 100% infill.

Clock Hands Fusion 360 
3D Printed Clock Hands
I spray painted the acrylic with a total of three coats. I found that I did not like the finish that the spray paint created. However if you turn it over it creates a glass like finish adding depth and elegance.

Front Side 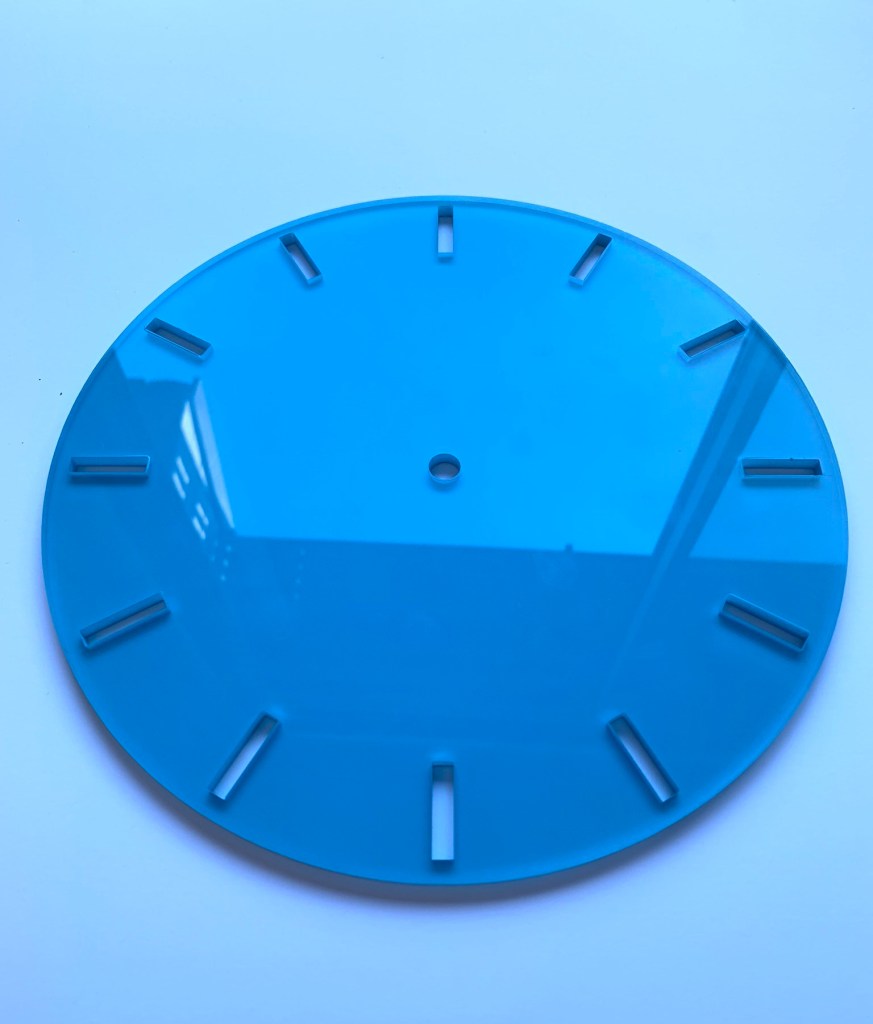
Back side
The mechanism uses a washer and a nut to secure to the acrylic. The 3D printed clock hands just slides over the shaft and stays in place with the right tolerance. This project was really fun and turned out looking great in my room!
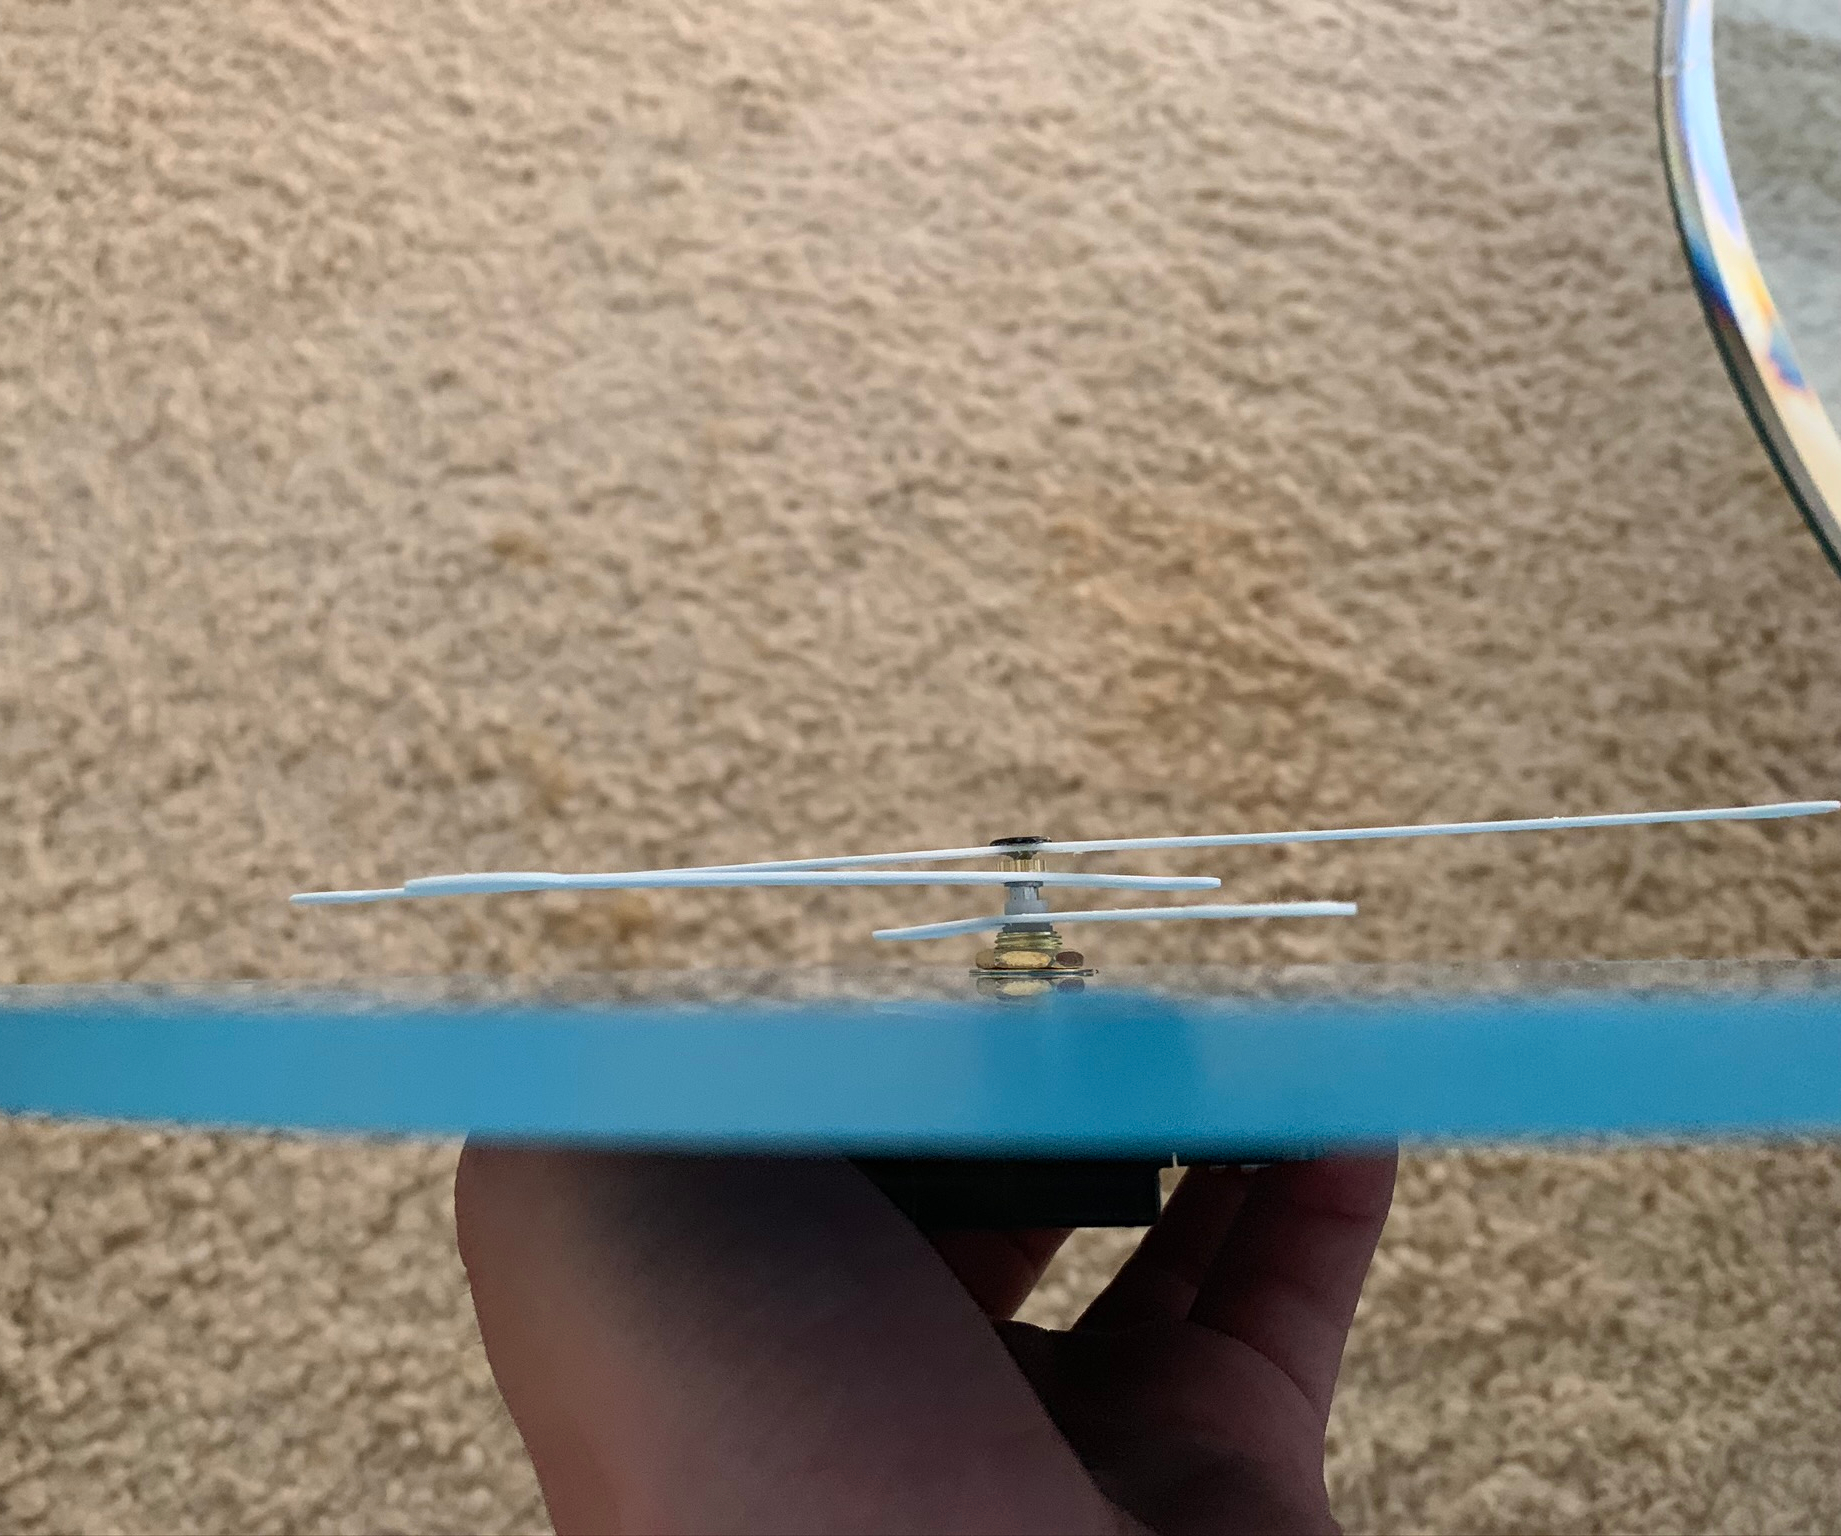
3D Printed Hands on Mechanism 
Finial Product Placement
 Andrew Stack